Spa Calendar & Grouping Rooms
Spa treatment rooms can be organised into groups for easier management and navigation in the Netbookings backend and POS system.
Rooms are organised into groups by their pricing group, not their room setup.
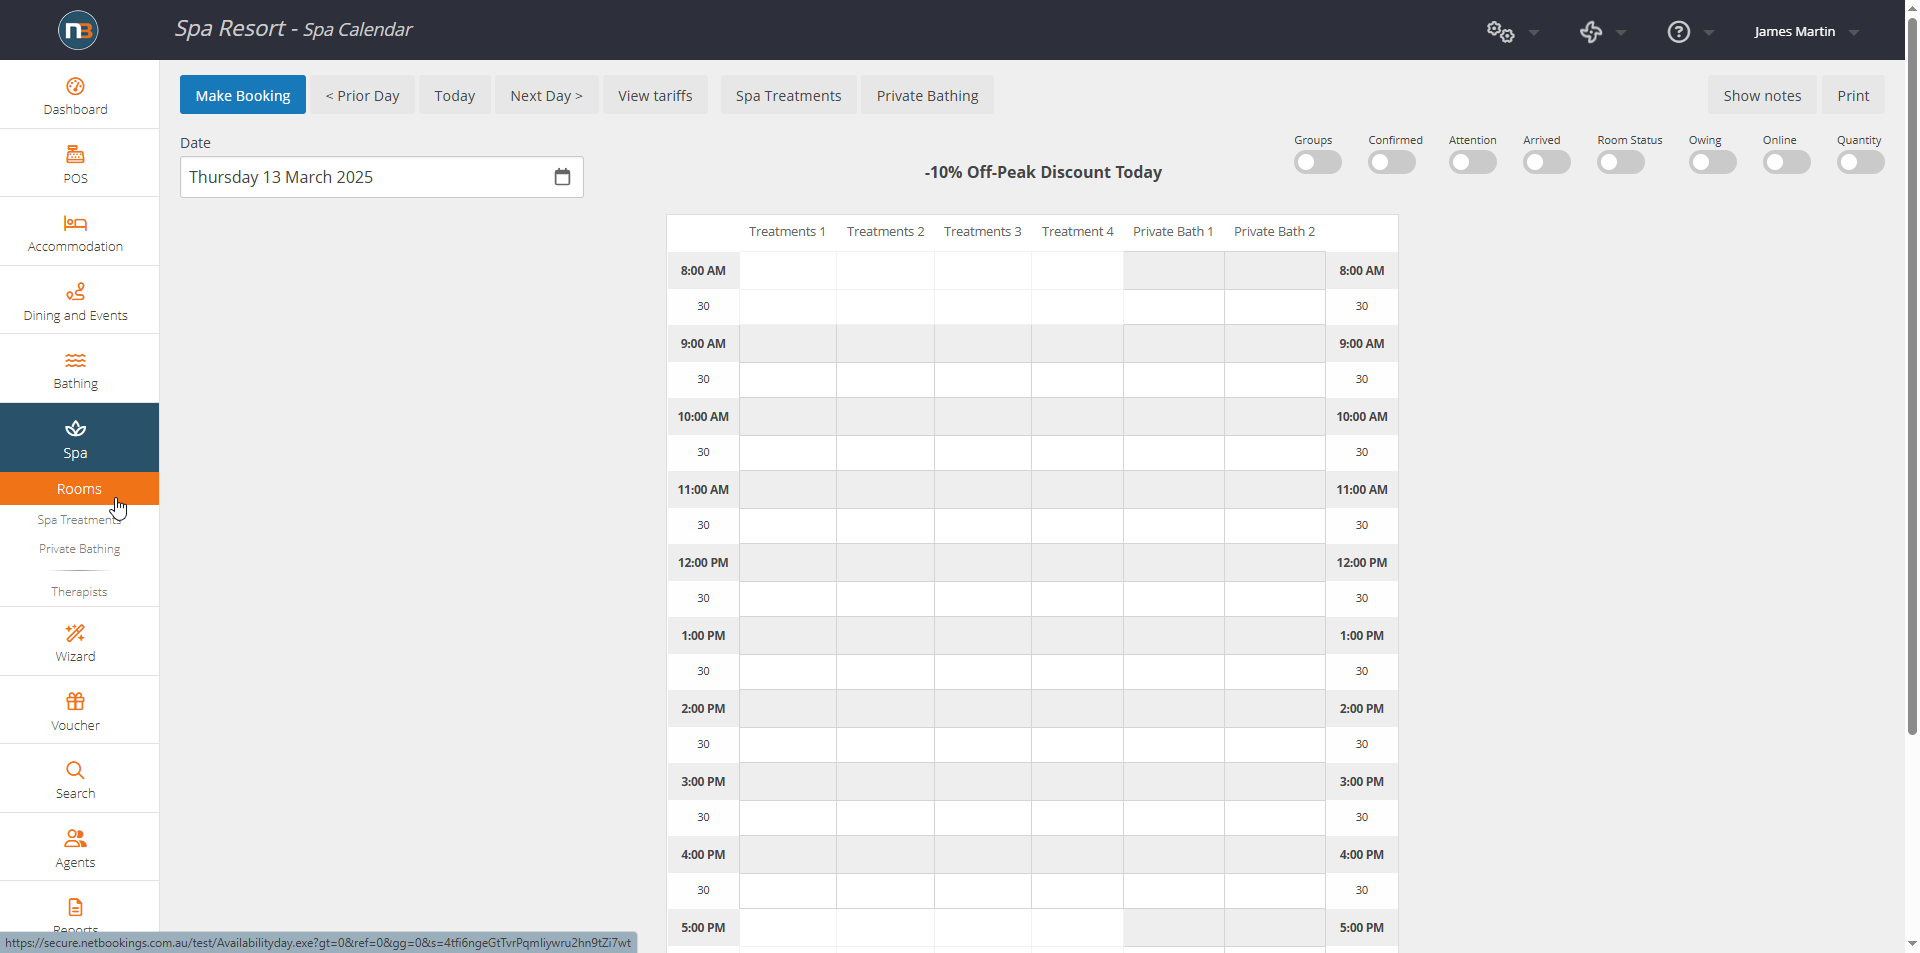
In the example above, you may want to group Treatments 1 to 4 and Private Baths 1 & 2. We have grouped them into ‘Spa Treatments’ and ‘Private Bathing’. This can allow staff to see only certain room groups if needed for ease of use.
Grouping rooms requires us to:
- Create a list name in the ‘Grouping’ category (using Lists setup ). i.e. Spa Treatments
- Identify which Pricing Group our rooms belong to
- Apply Grouping list name to appropriate Pricing Group
See Pricing Groups and Room Setup, if not set, before creating room groups.
Create List name
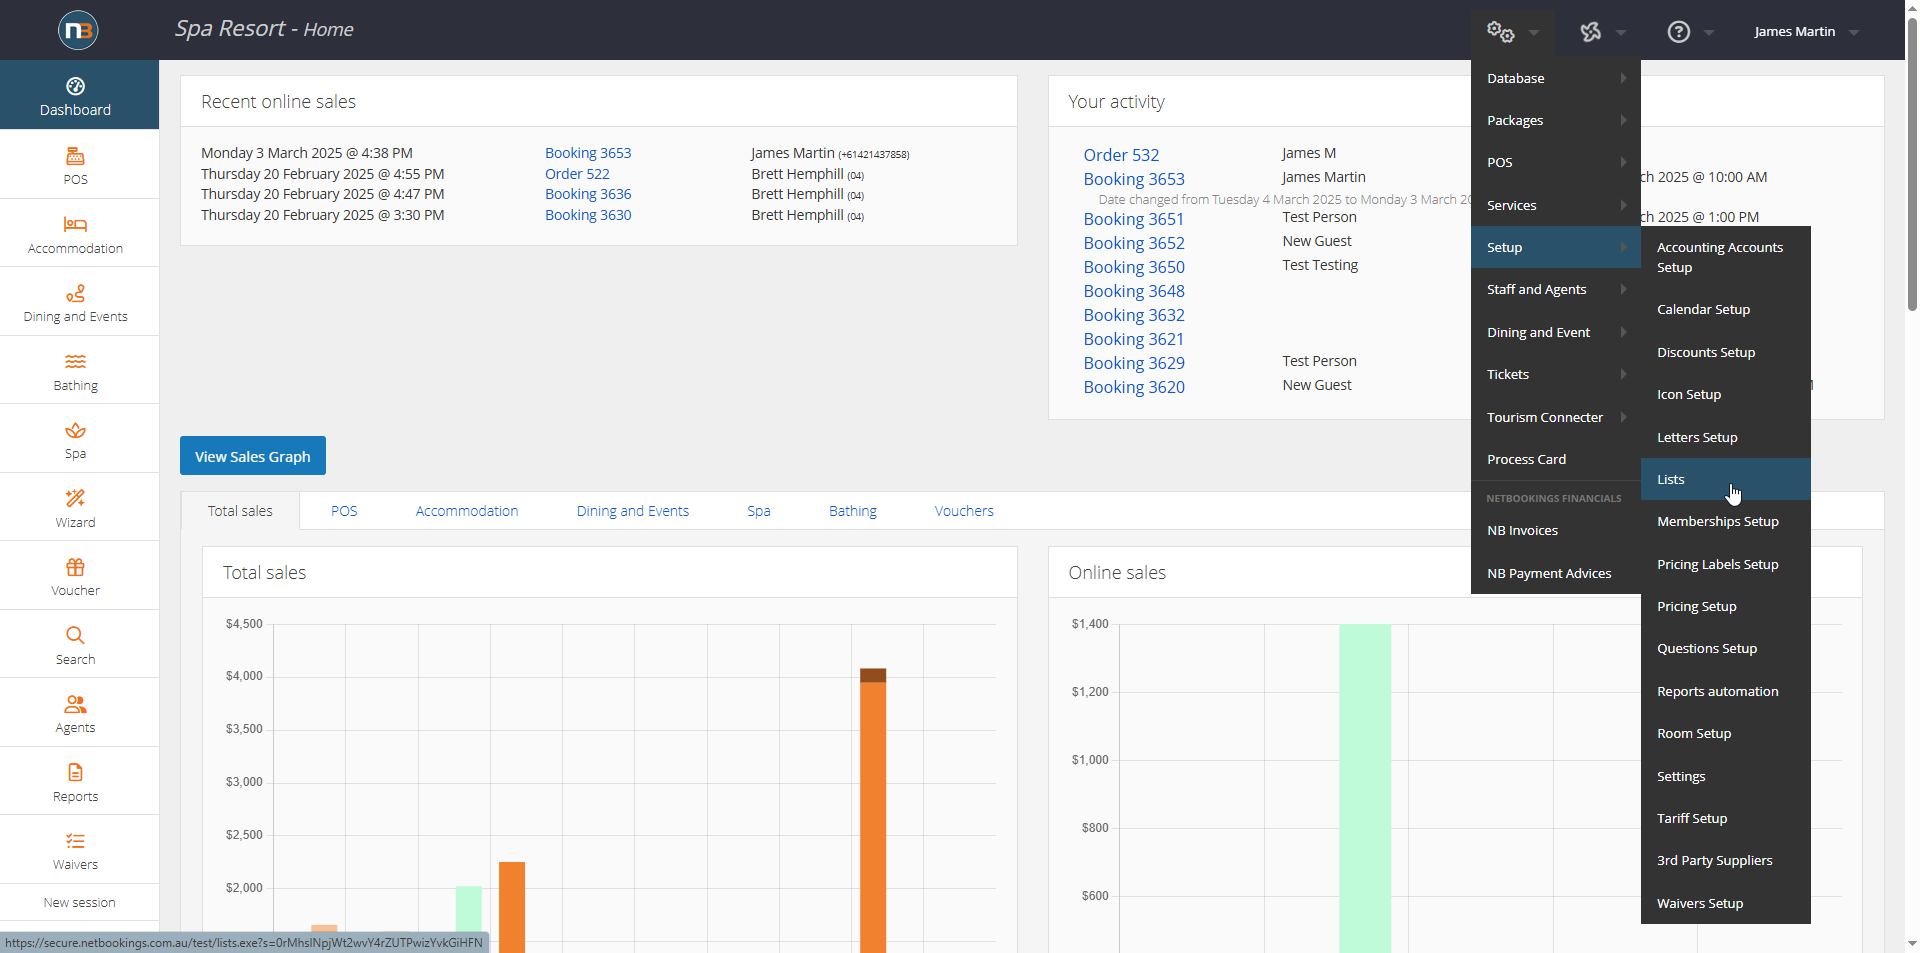
Go to System>Setup>Lists
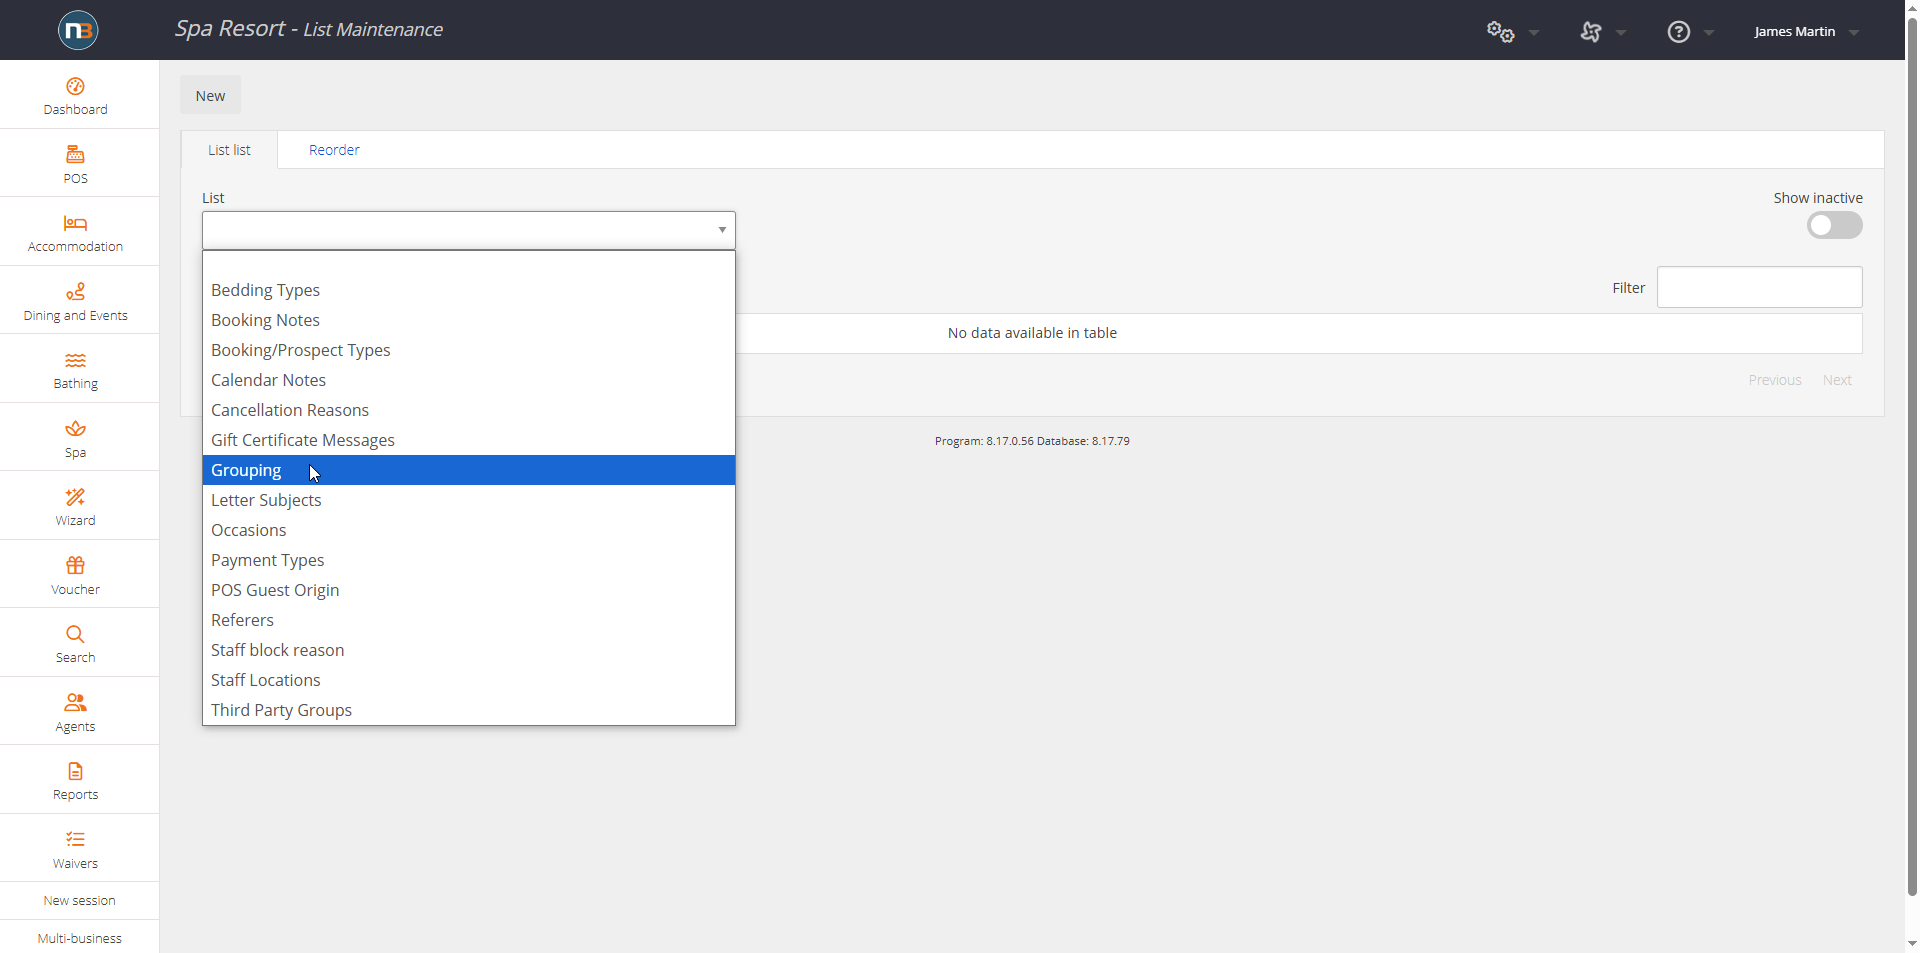
First select List type to be created. In this case ‘Grouping’
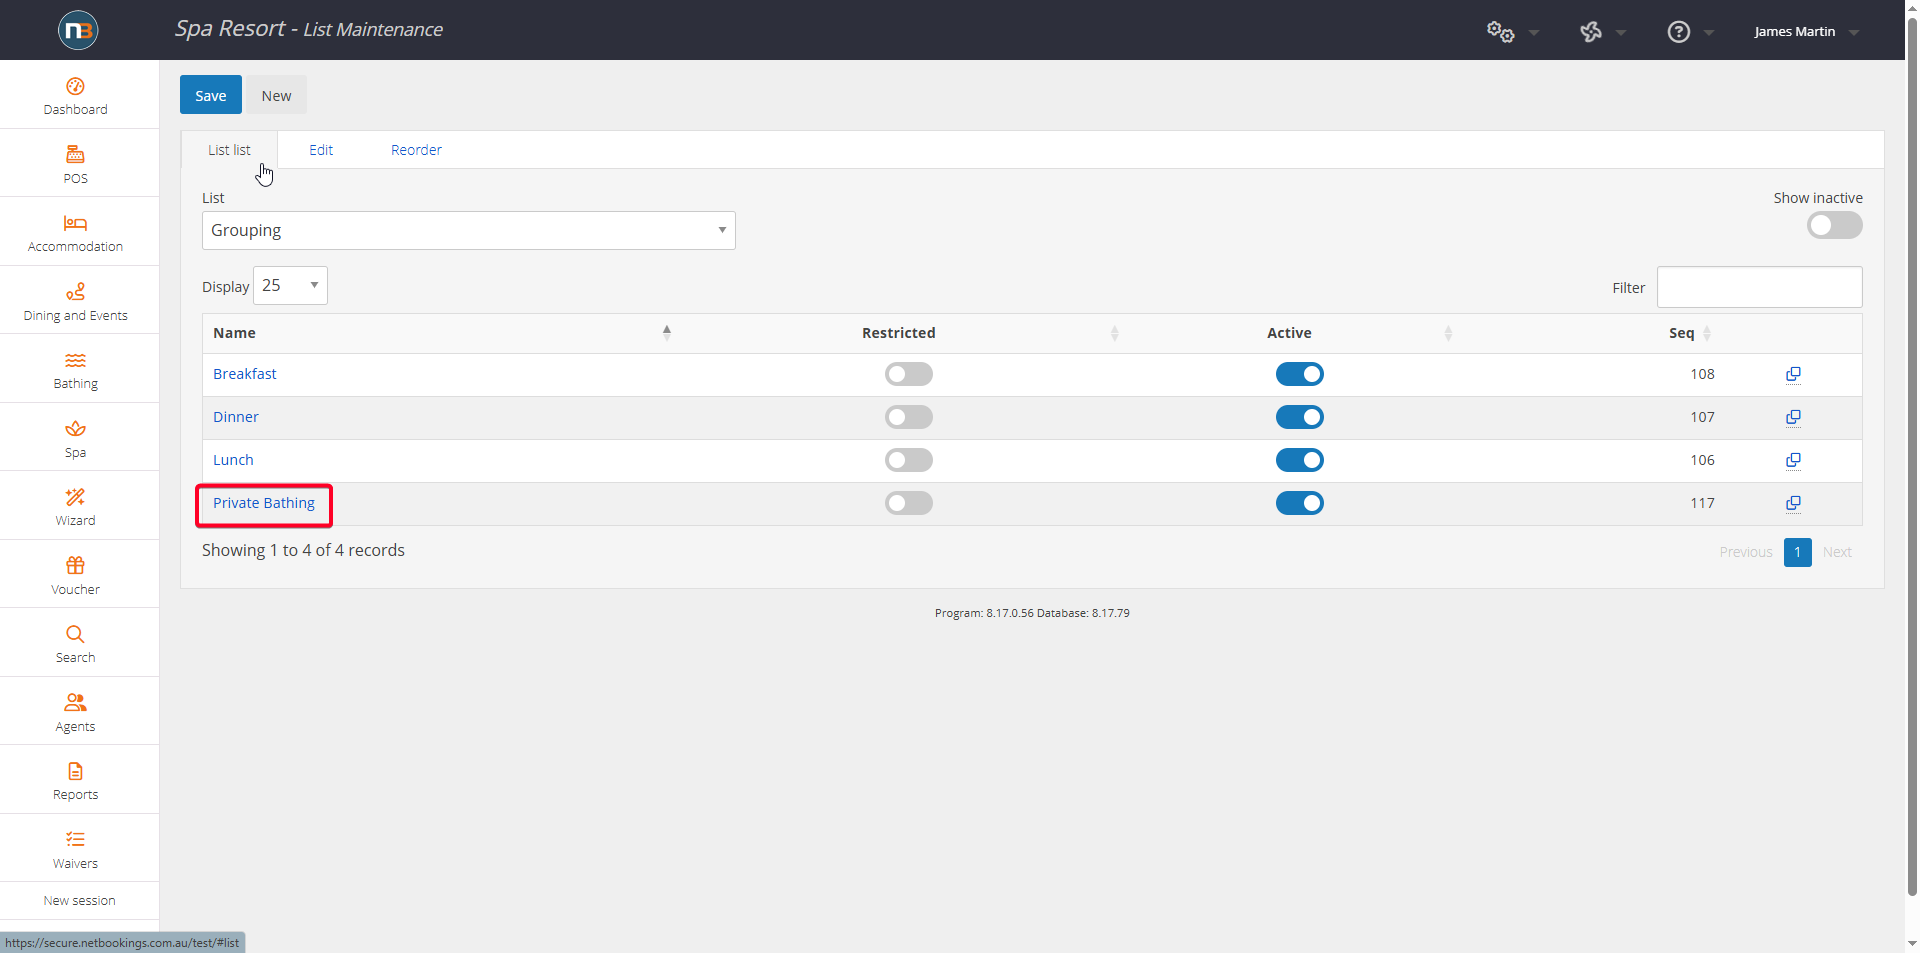
Click ‘New’. See already created ‘Grouping’ name for Spa Calendar – Private Bathing (Grouping can also be applied to Tour/Events/Dining calendar – see Grouping).
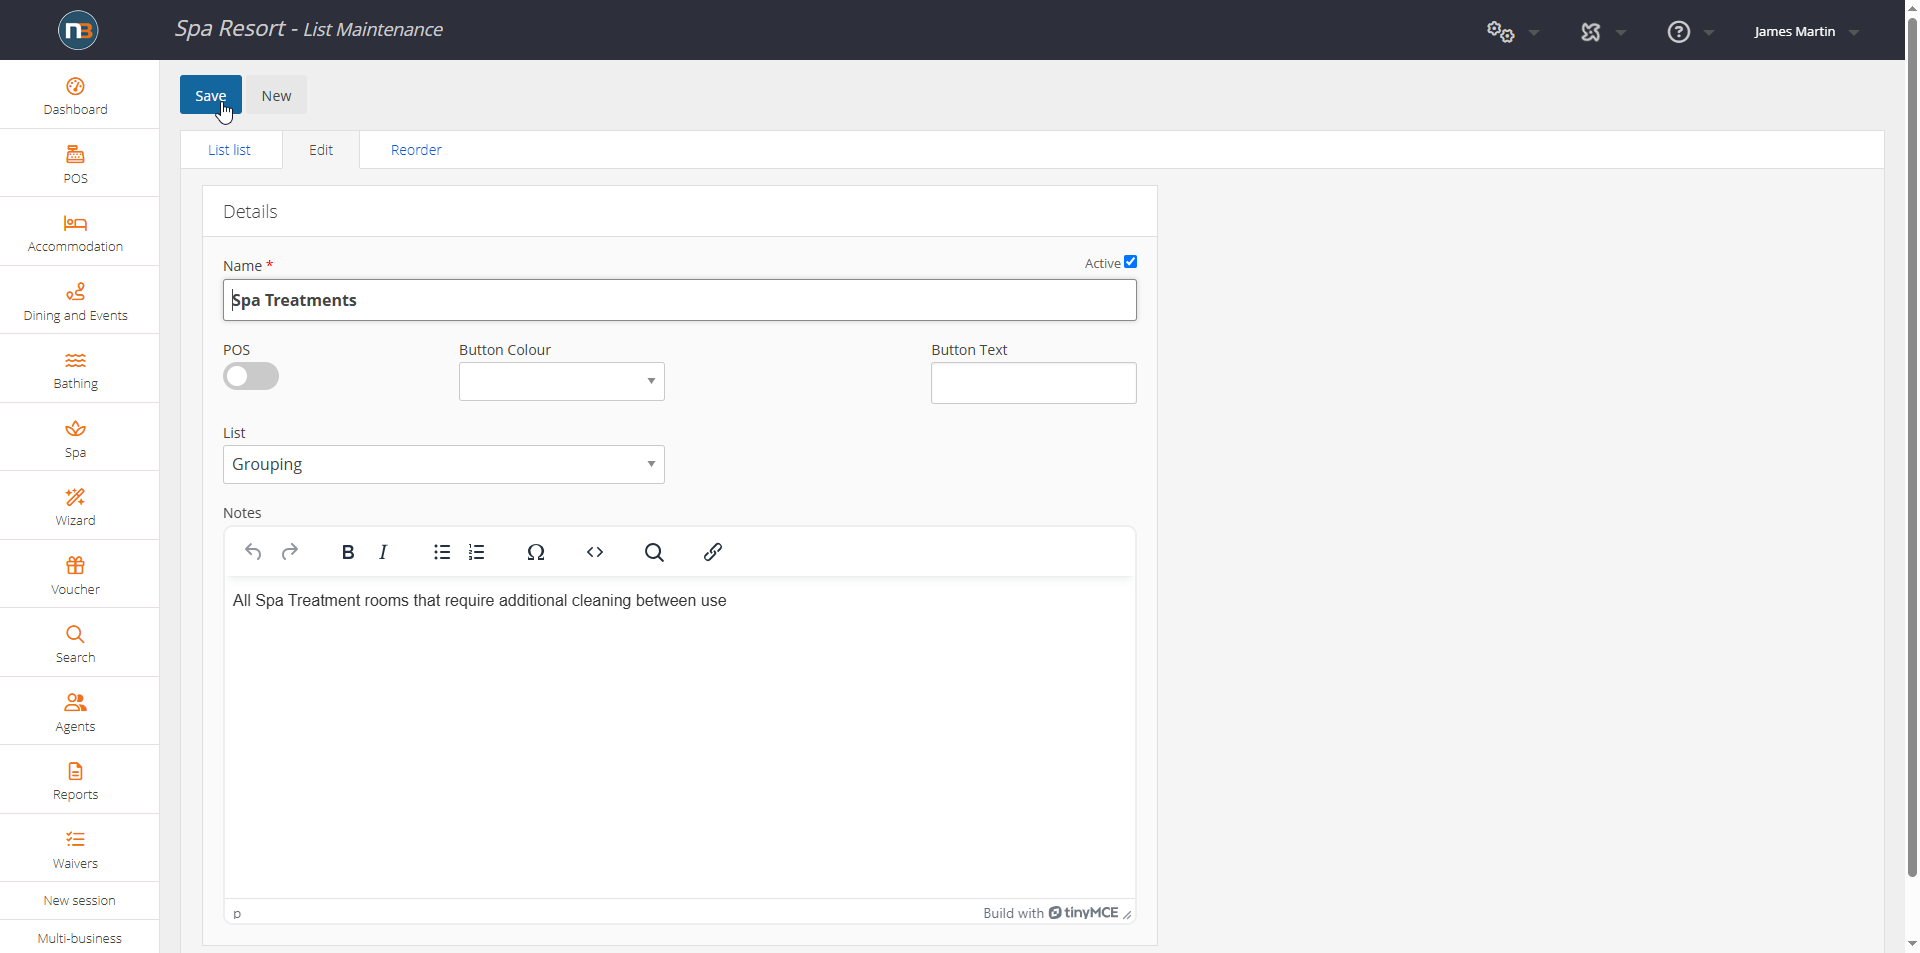
Enter name of new group and relevant details. Click ‘Save’ when finished to create group name.
Identify Pricing Group
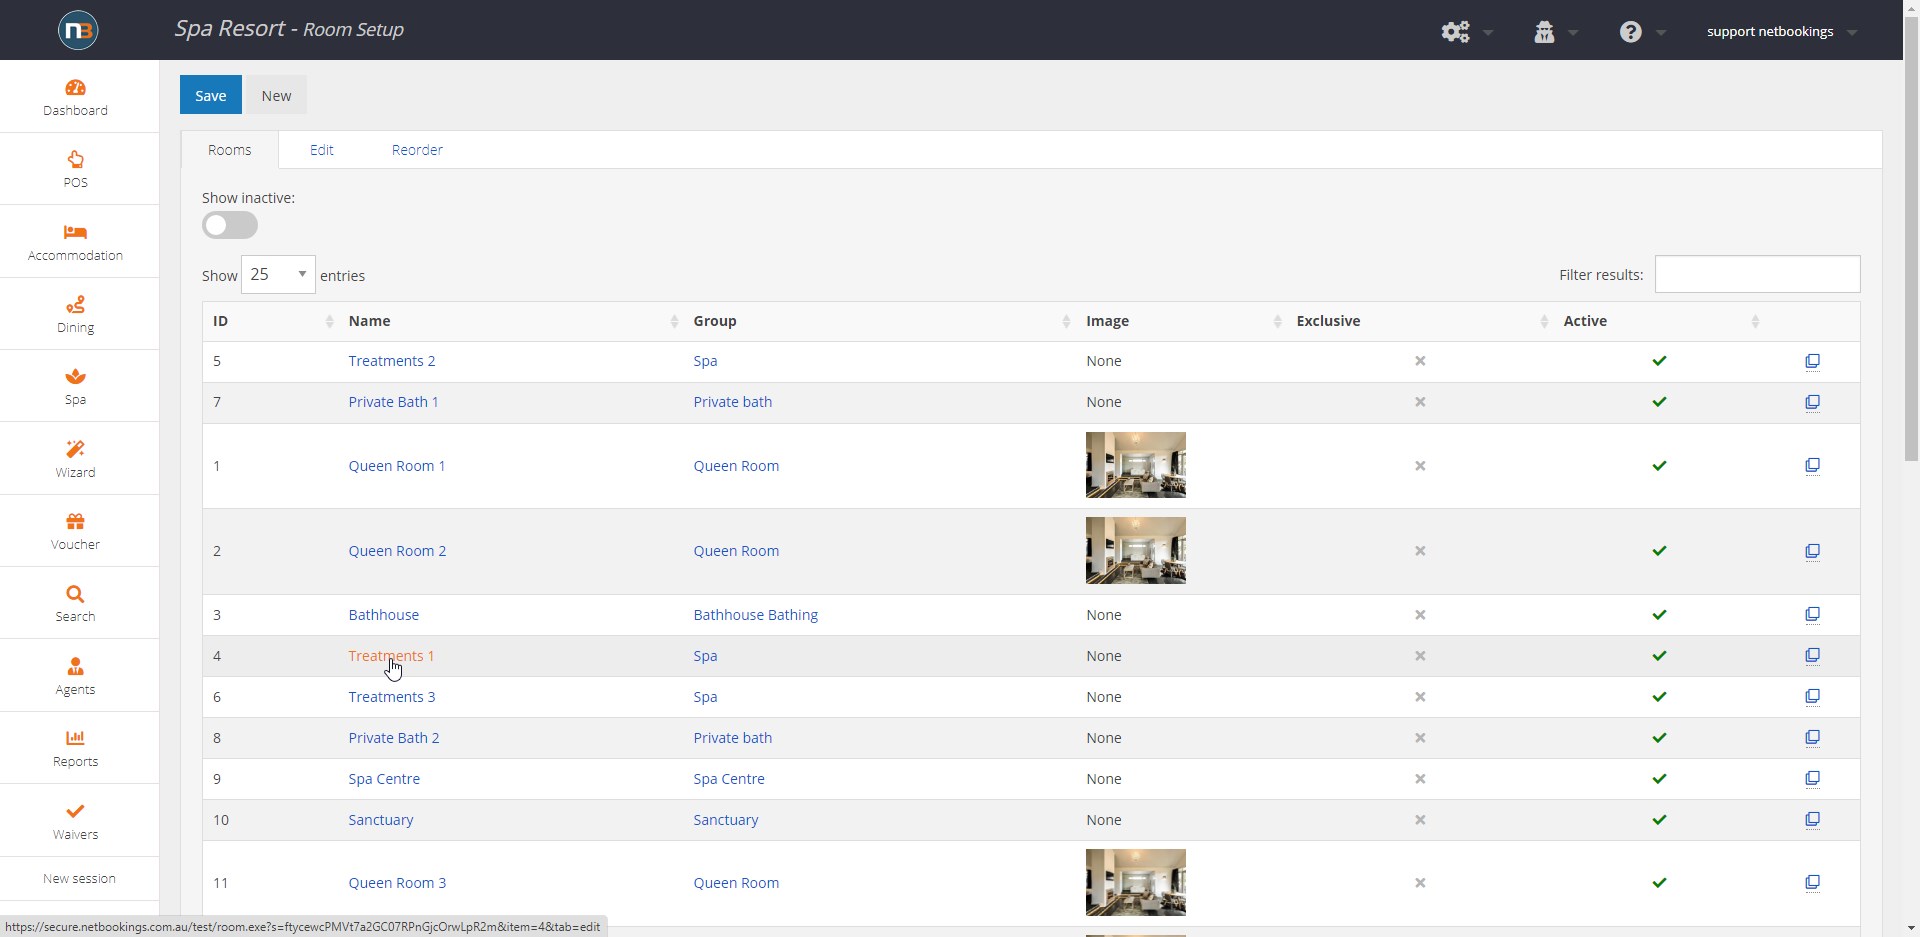
Go to System>Setup>Room Setup. Find the relevant Spa treatment rooms that you wish to group. i.e Treatment 1-4. Note the ‘Group’ column indicates ‘Spa’ for these rooms.
We now know our pricing group for Treatments 1-4 is ‘Spa’
Assign Grouping name to Pricing Group
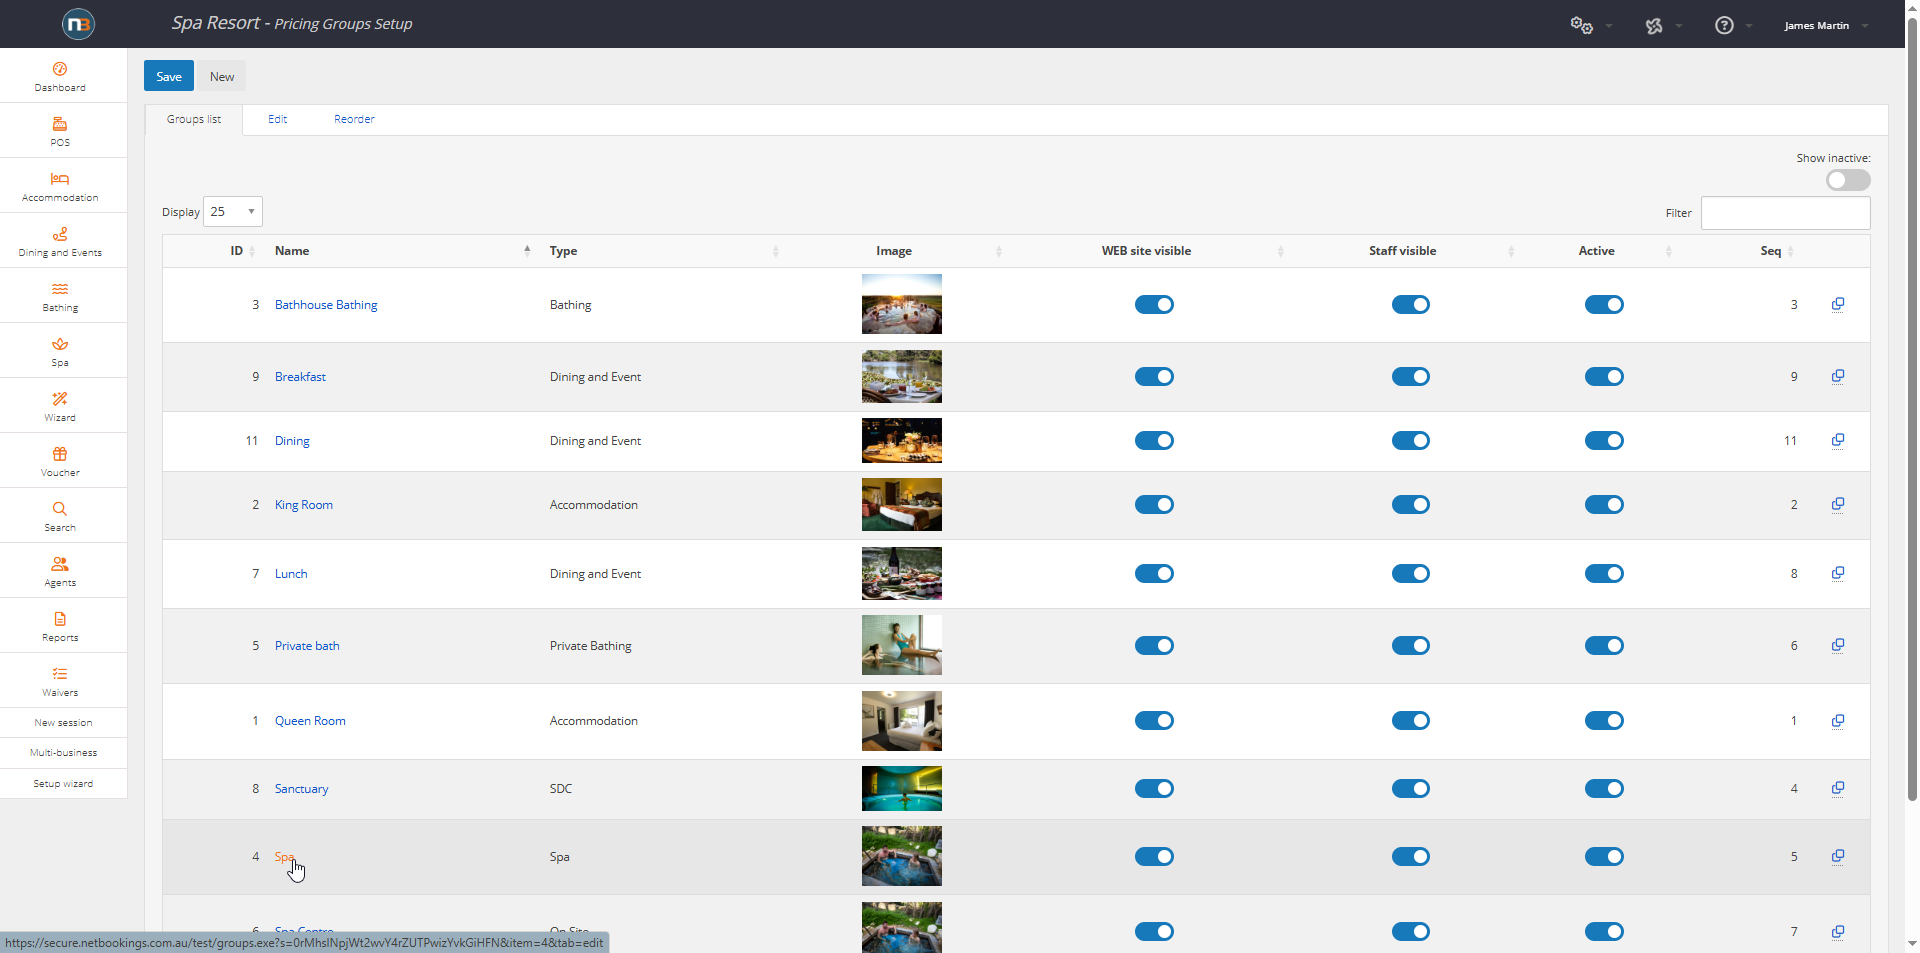
Go to System>Setup>Pricing Setup. Click on relevant Pricing Group. In our case, Spa.
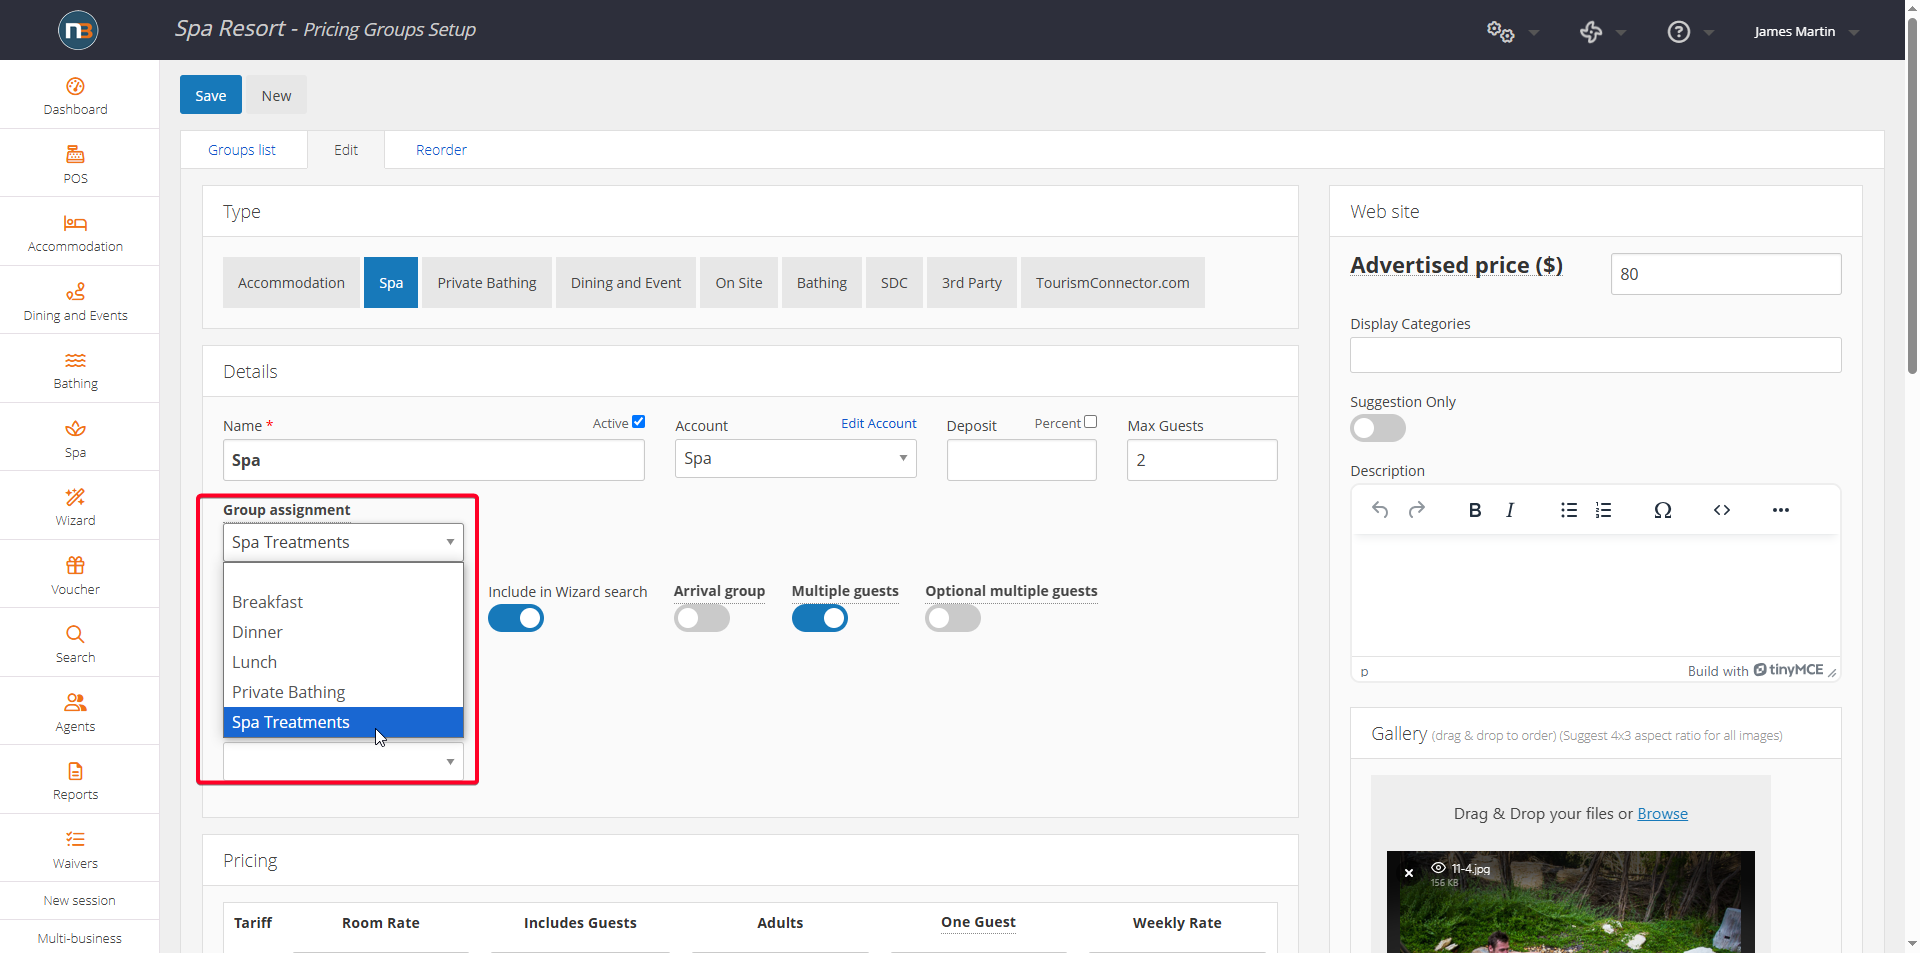
Find new ‘Grouping’ name under ‘Group assignment’ drop menu. Select new group name for the Spa pricing group, Spa Treatments.
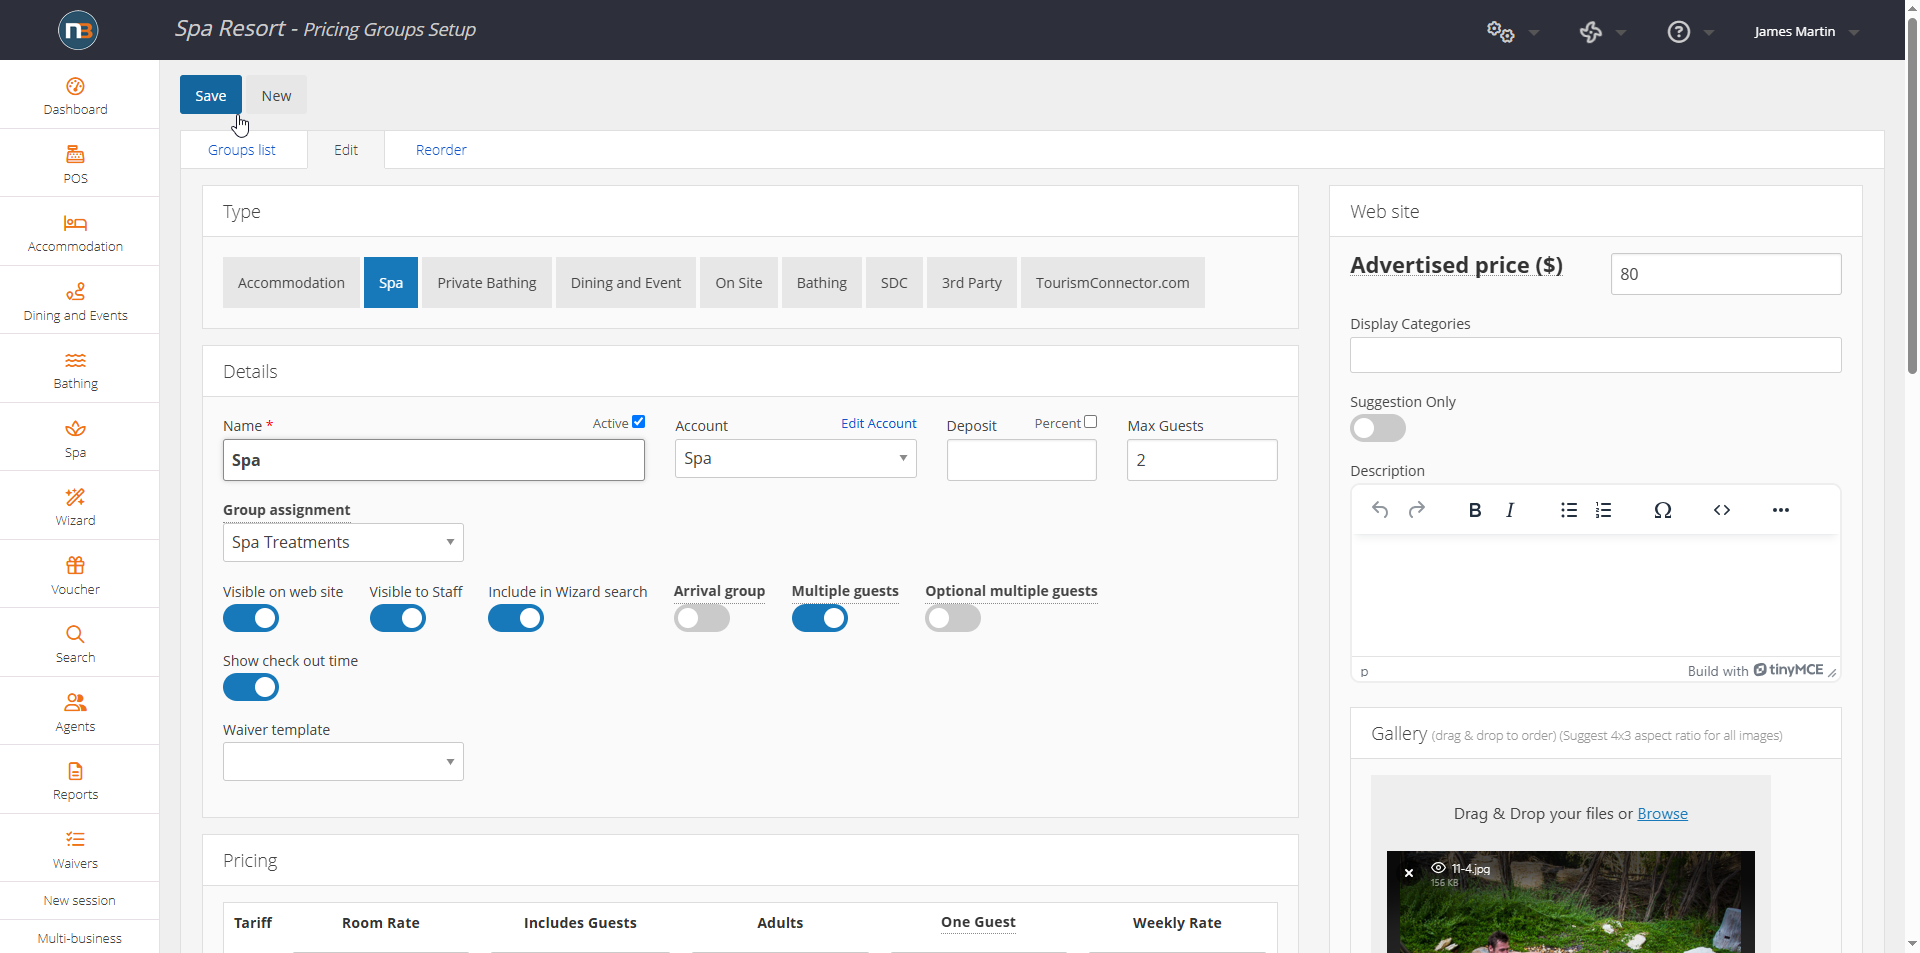
Click ‘Save’
View and use new group
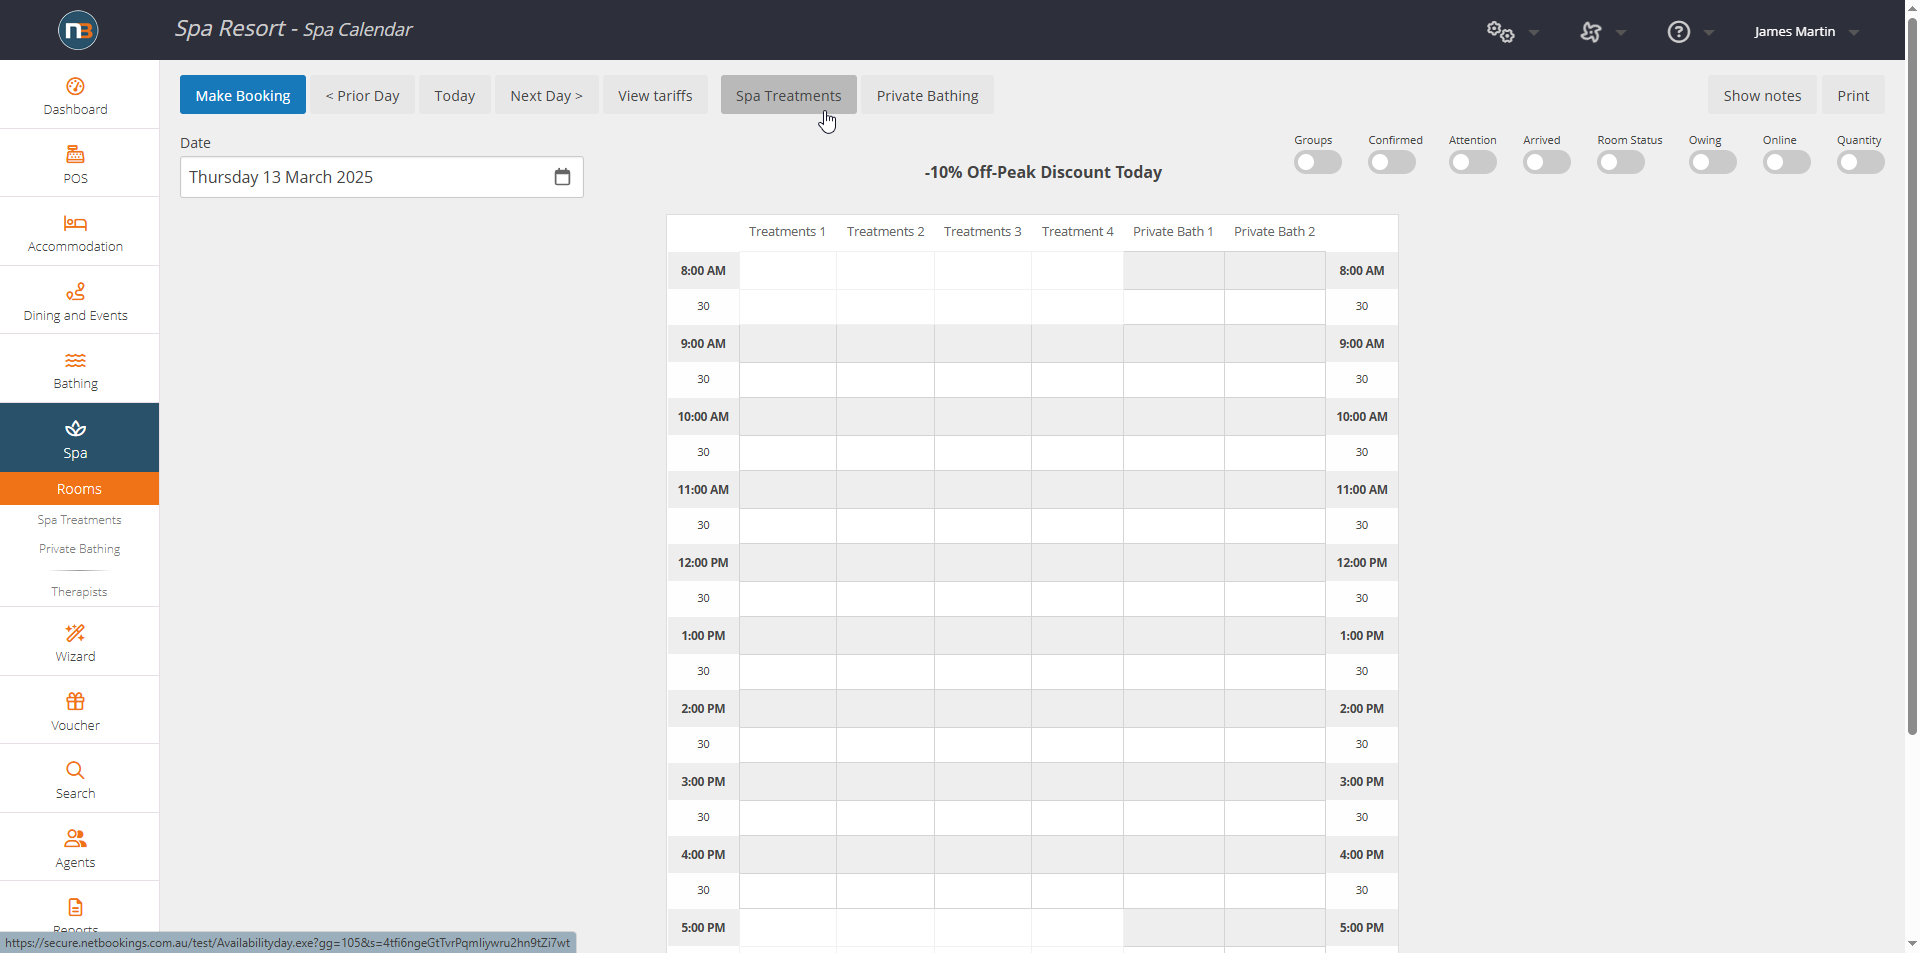
New room group button, Spa Treatments, now appears in Spa>Rooms – as well as in sub menu under heading Spa (can select from within Spa Rooms or from menu).
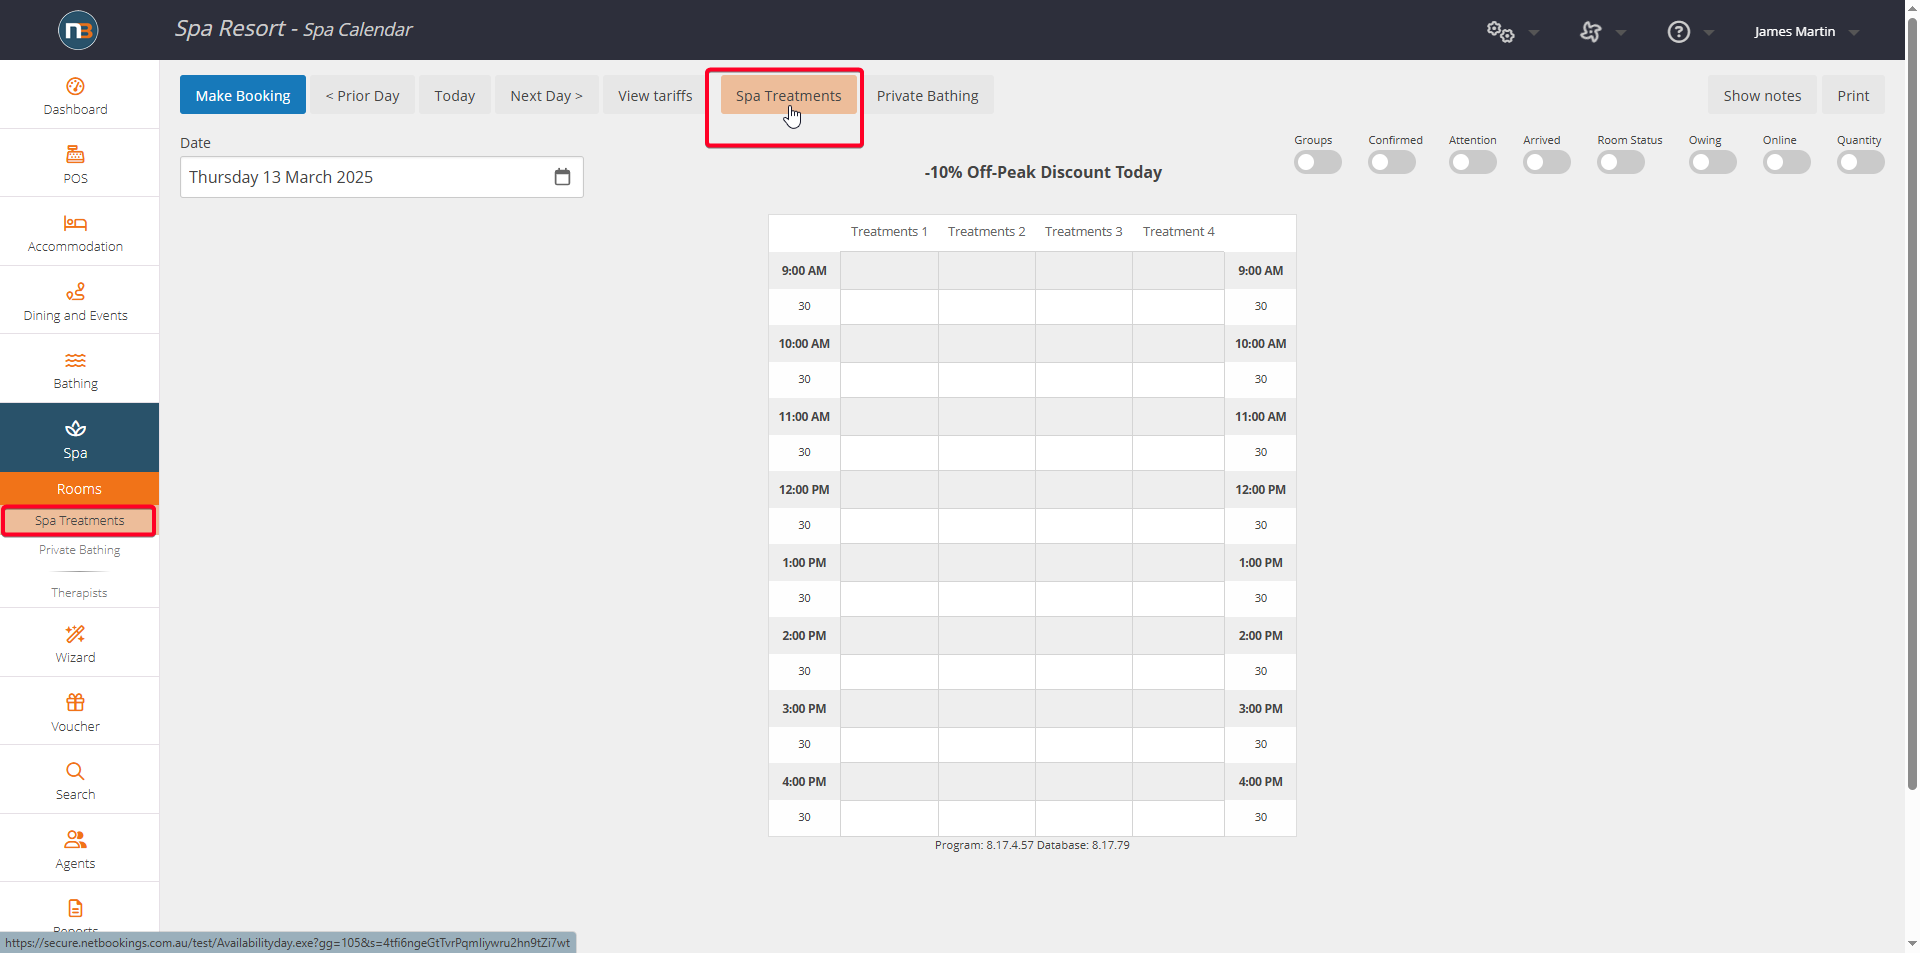
When button is clicked it will filter for the new Room Group.
