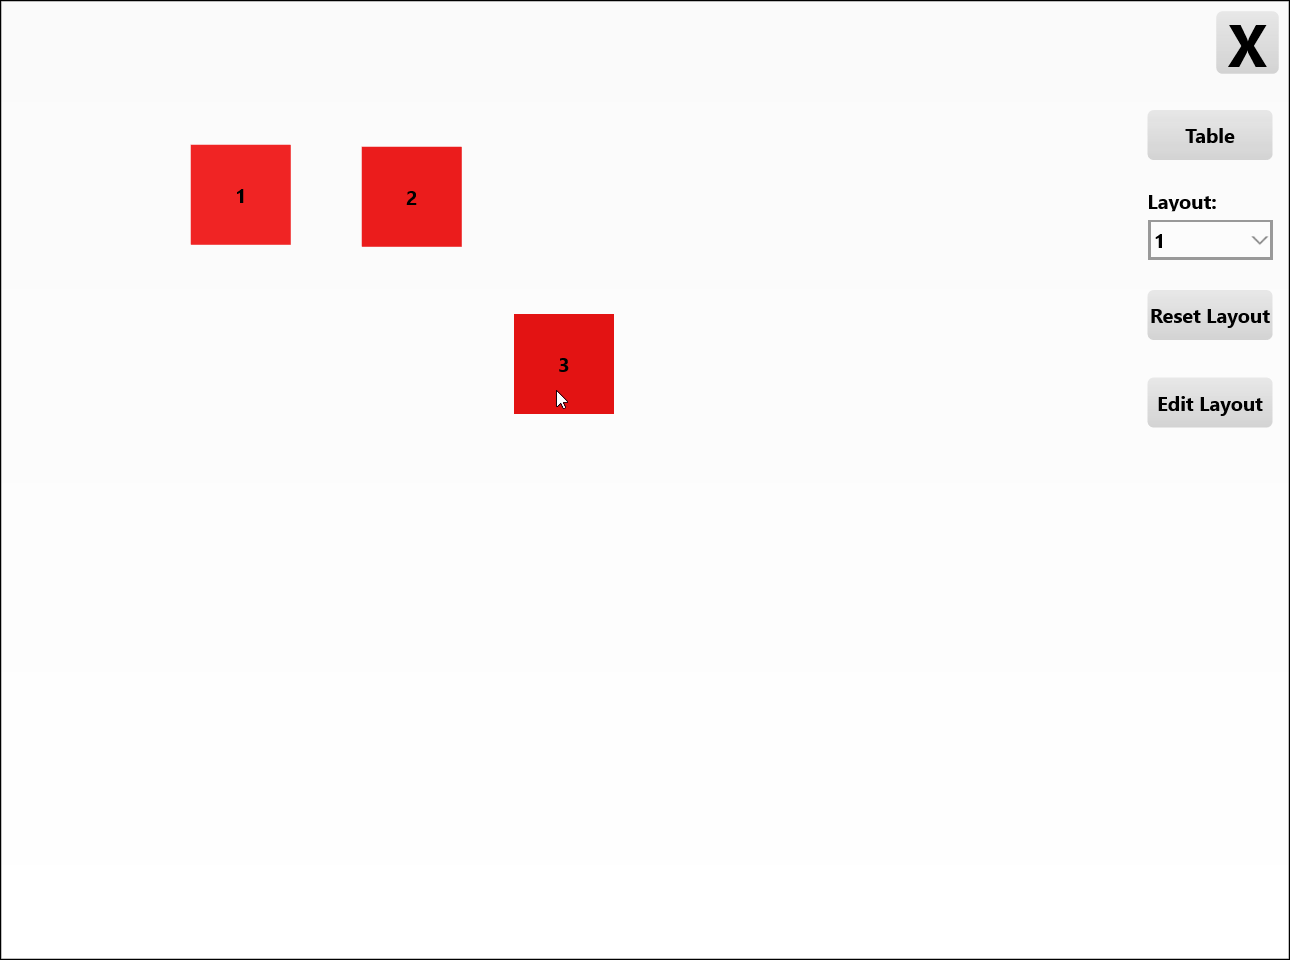
Table Layouts
With correct user access it is possible to create table layouts and make edits.
In the example below we create a new Table Layout. Use methods below to edit an existing Table Layout also.
Login to POS
Login to POS with staff profile of ‘Master User’ role to edit Table Layout
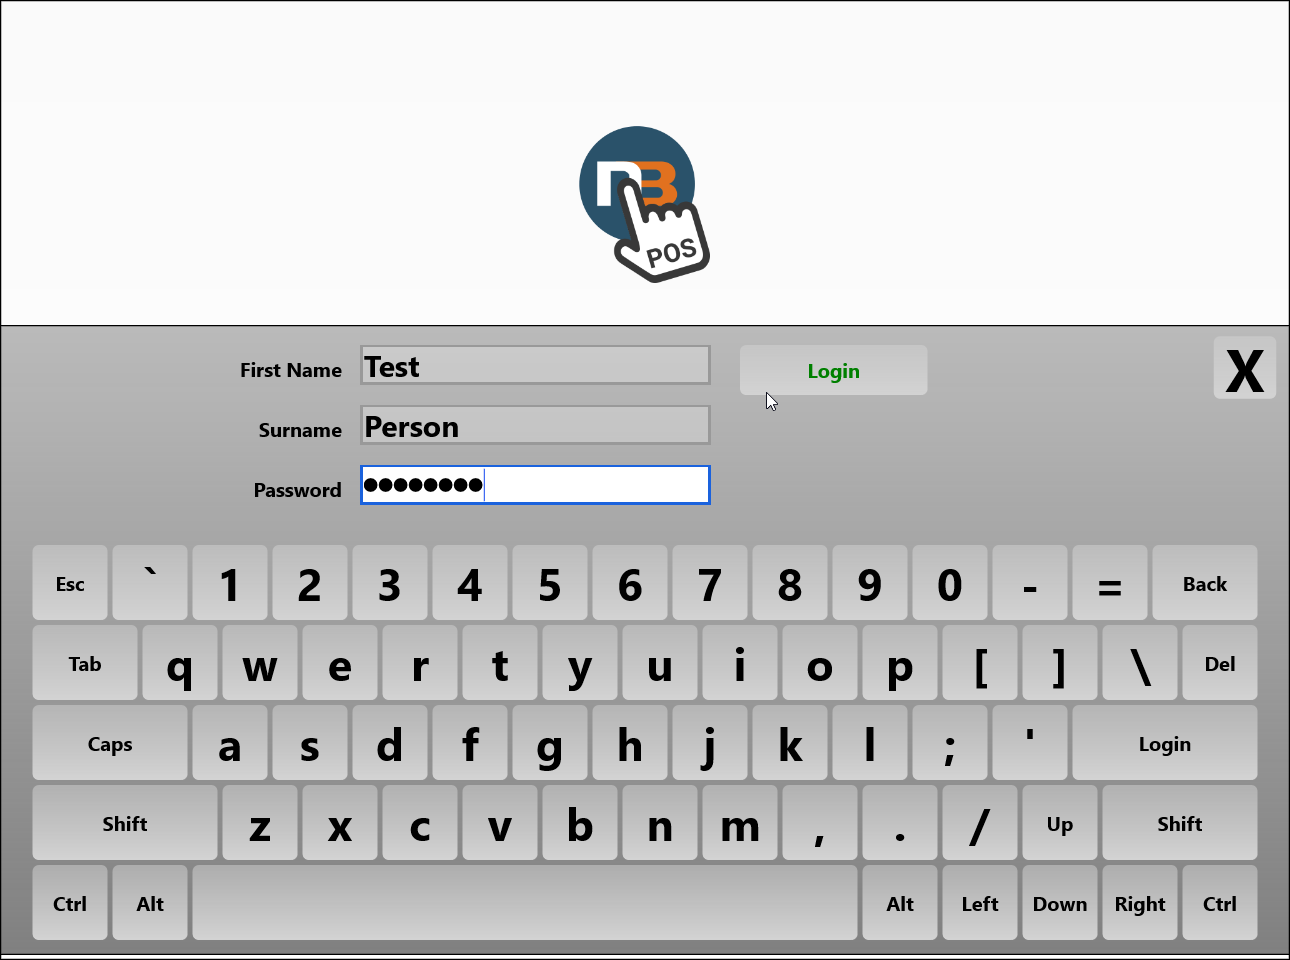
Note: Alternatively, edit relevant Staff Role and ensure ‘Edit Table Layout’ function is enabled – be careful when enabling Staff Role functions as they will apply to all staff using that role.
Click ‘Table’
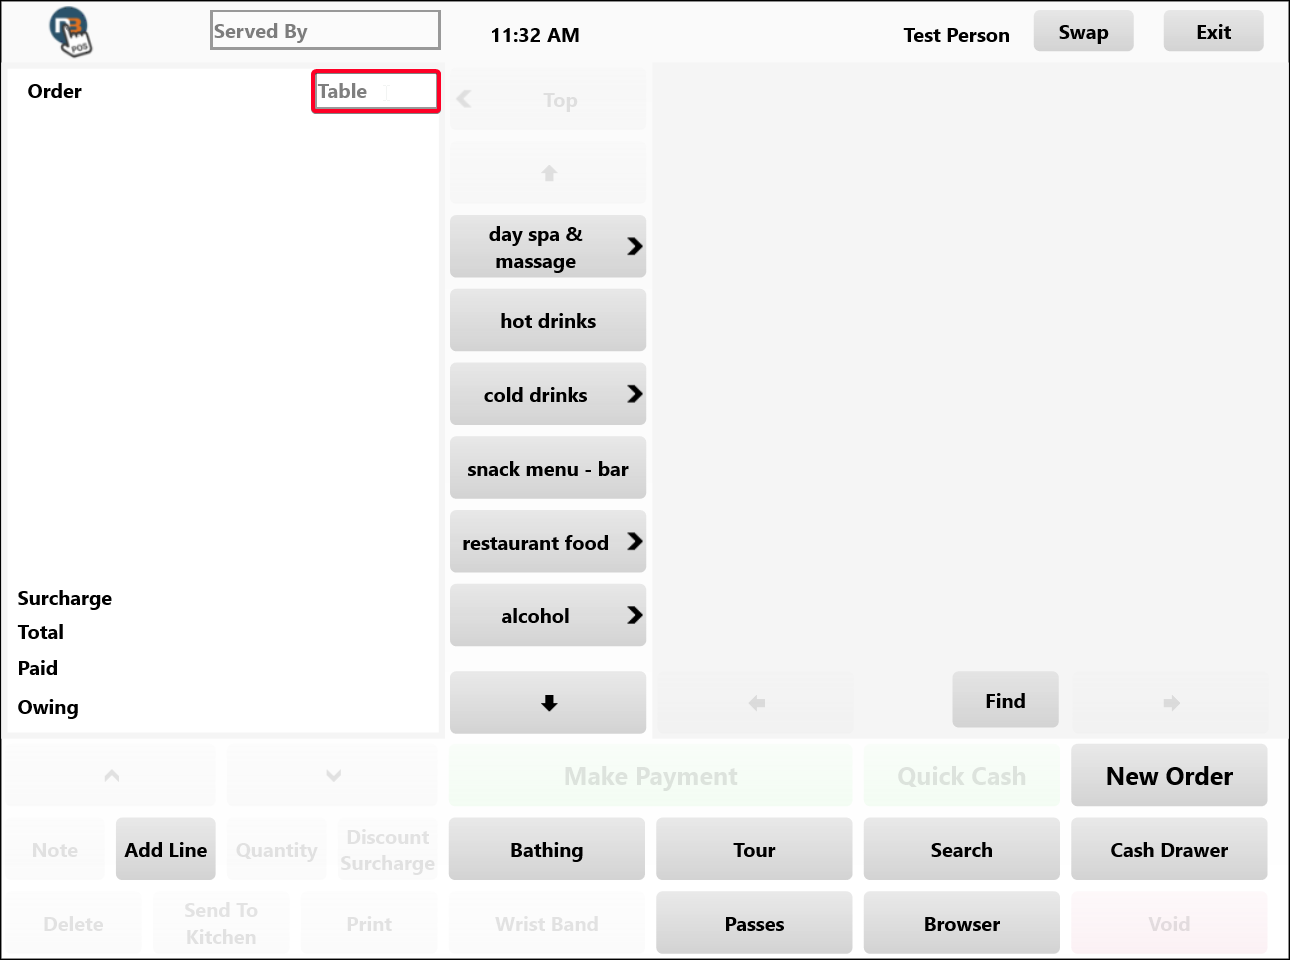
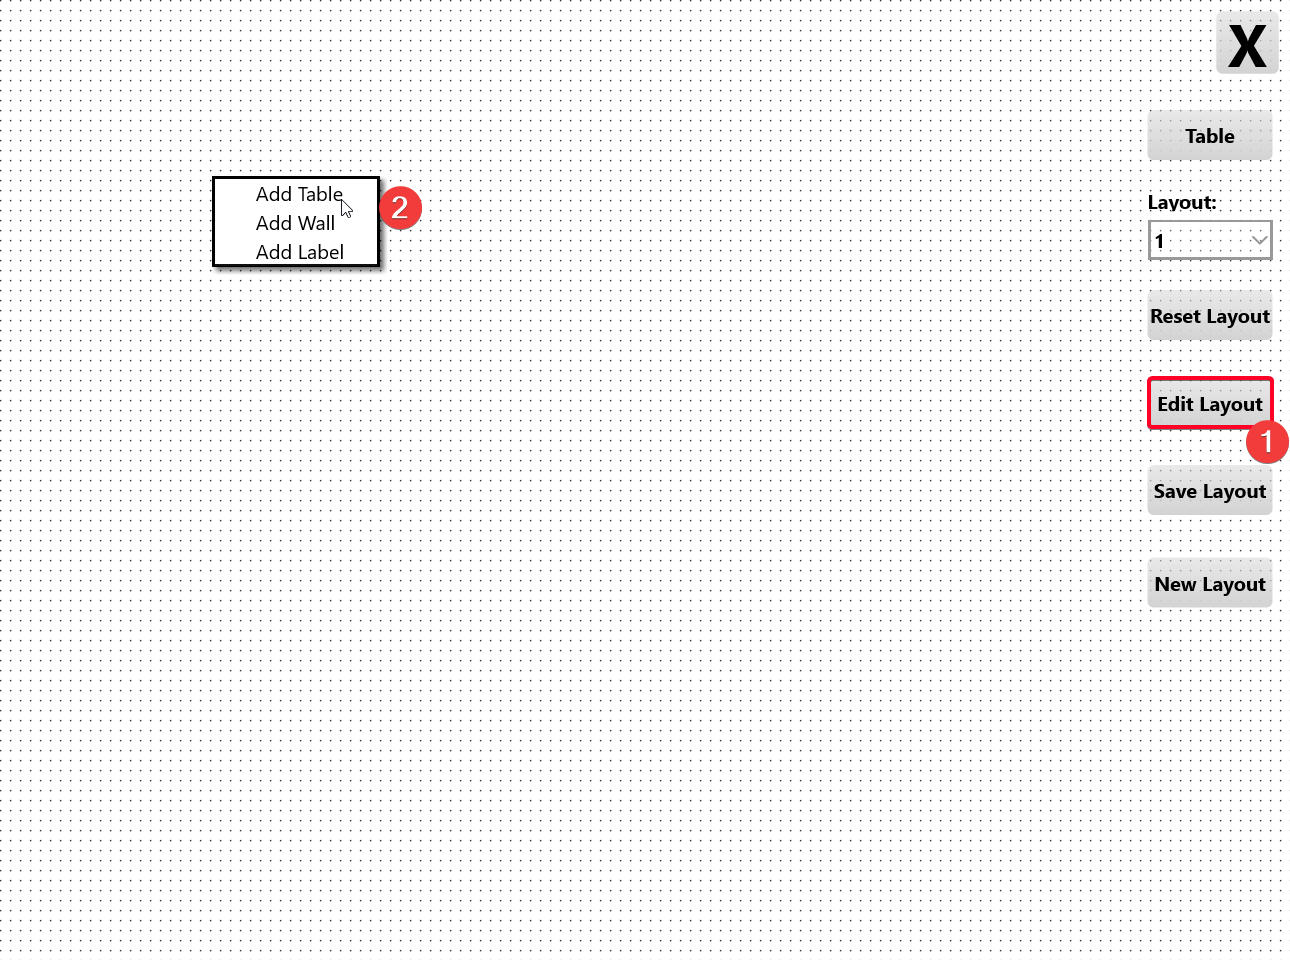
Click ‘Edit’ Layout
In this example we are creating new layout.
- Click Edit Layout button. Dot grid appears in background letting you know your now in ‘edit’ mode.
- Right click on the floor to Add Table, Wall or Label. In this case we will click ‘Add Table’.
Edit Table
See now a new table has been created with grey background and no number or name (hence ‘???’ instead to prompt change).
Right click on table
Table Options now appear.
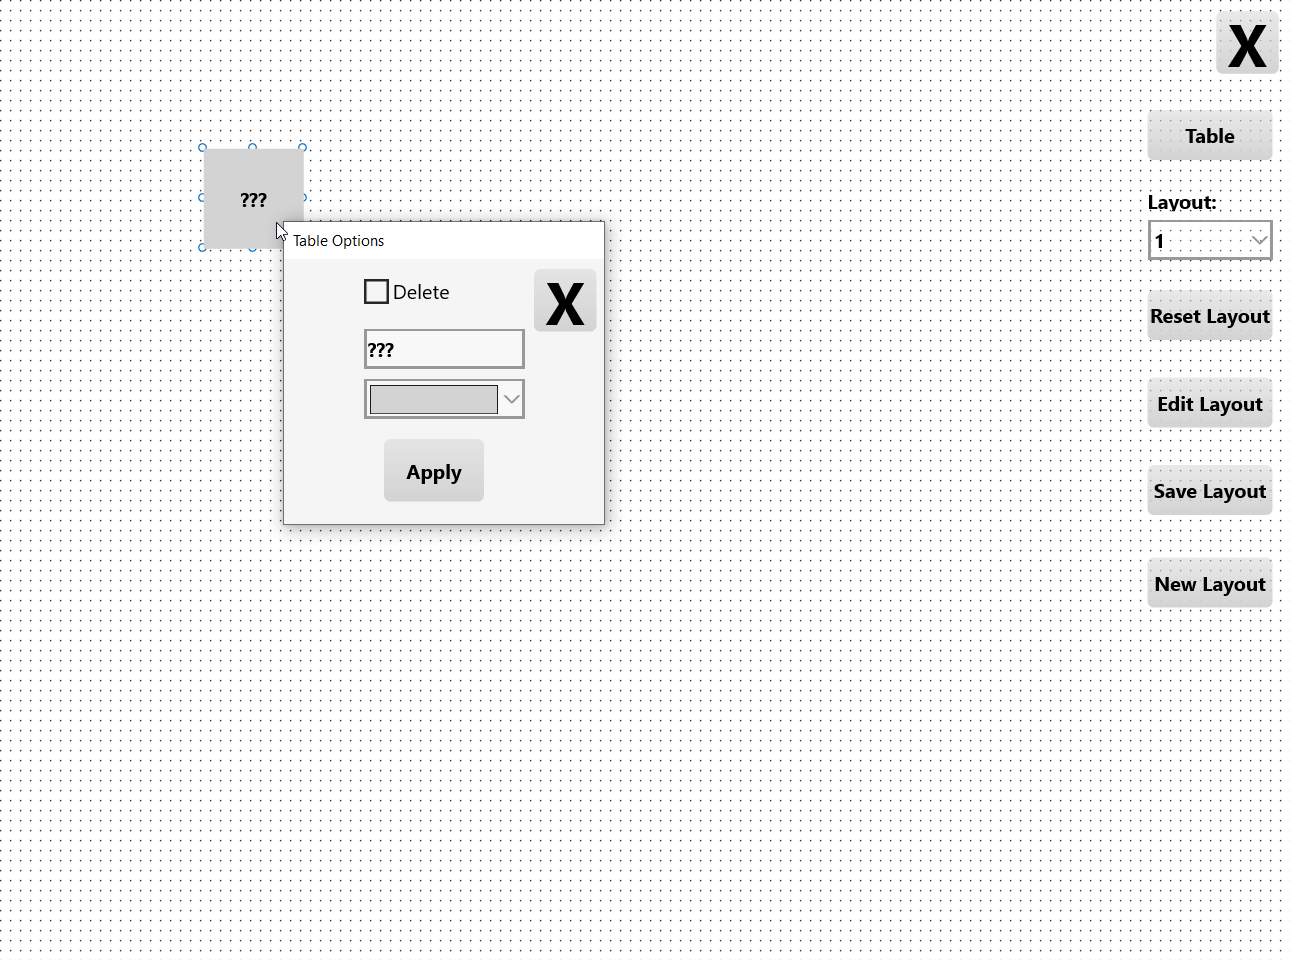
Make edits
- Change name or number of table.
- Select colour of table from drop menu – use the vertical axis shifter for colour change and horizontal for opacity.
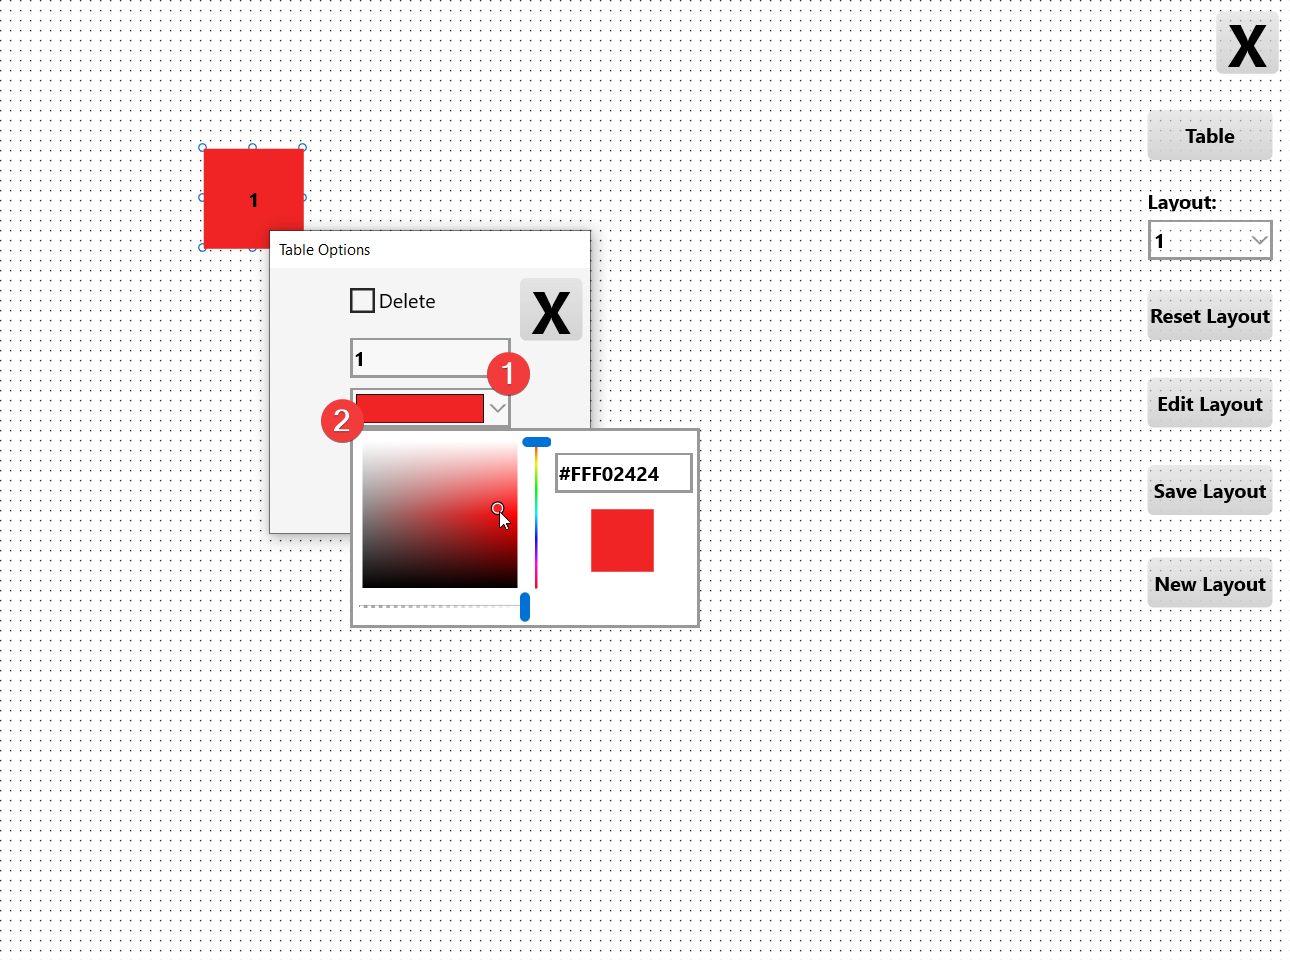
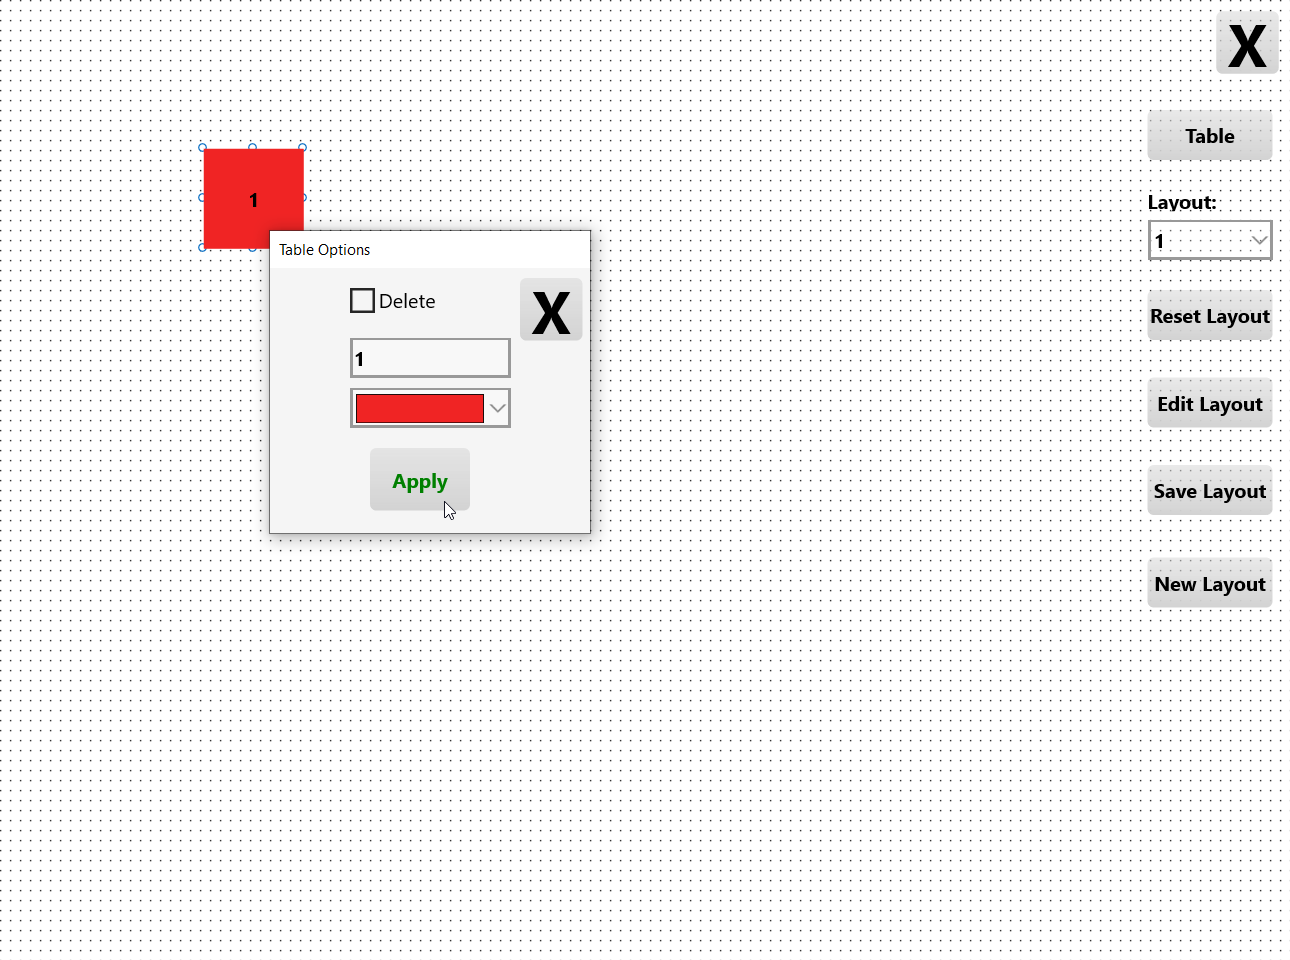
3. Click ‘Apply’ to save changes.
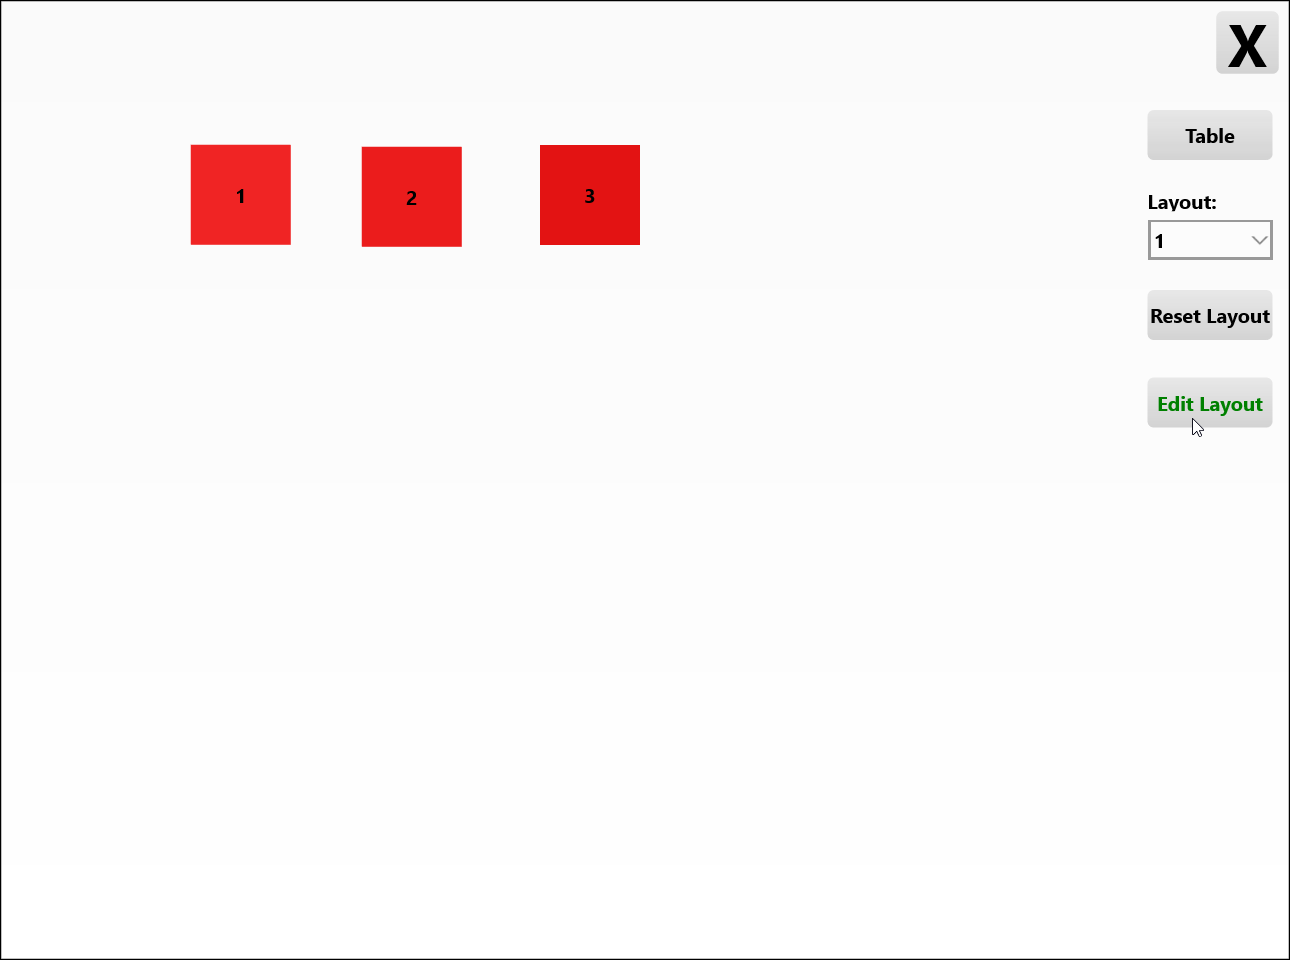
Repeat Process for desired number of Tables
Once Complete click Edit Table button again to close edit mode.
Any time edits need making, simply click on Edit Layout again and follow steps above.
Move Tables by Drag and Drop
Tables can be moved in edit or non edit mode by using left/right click, holding and moving to position you want.
