
Add Waiver to a Pricing Group
After creating a waiver template, you must assign it to a pricing group.
Note: Currently, only one waiver template can be applied to a pricing group. If your business requires your customer to fill more than one form, they must be condensed into a single waiver template.
Assign to a Pricing Group
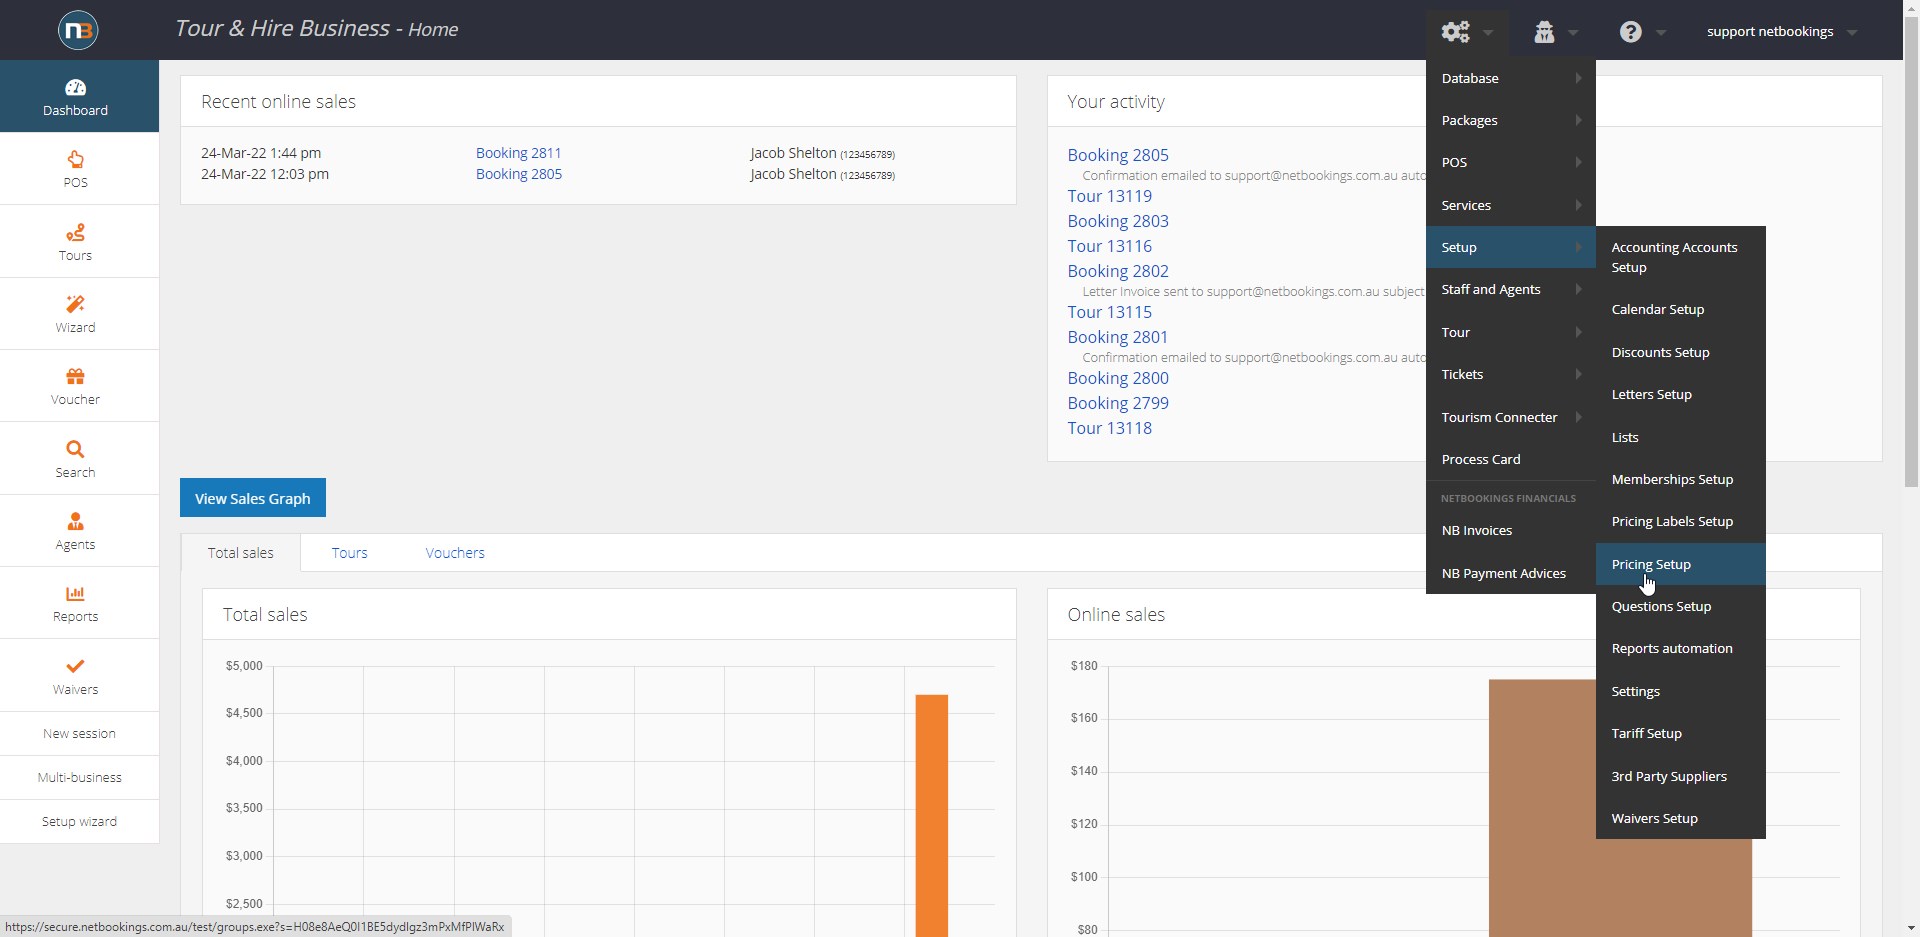
Navigate to System > Setup > Pricing Setup.
You must now assign the waiver to a pricing group. All tours that use this pricing will include your new waiver.
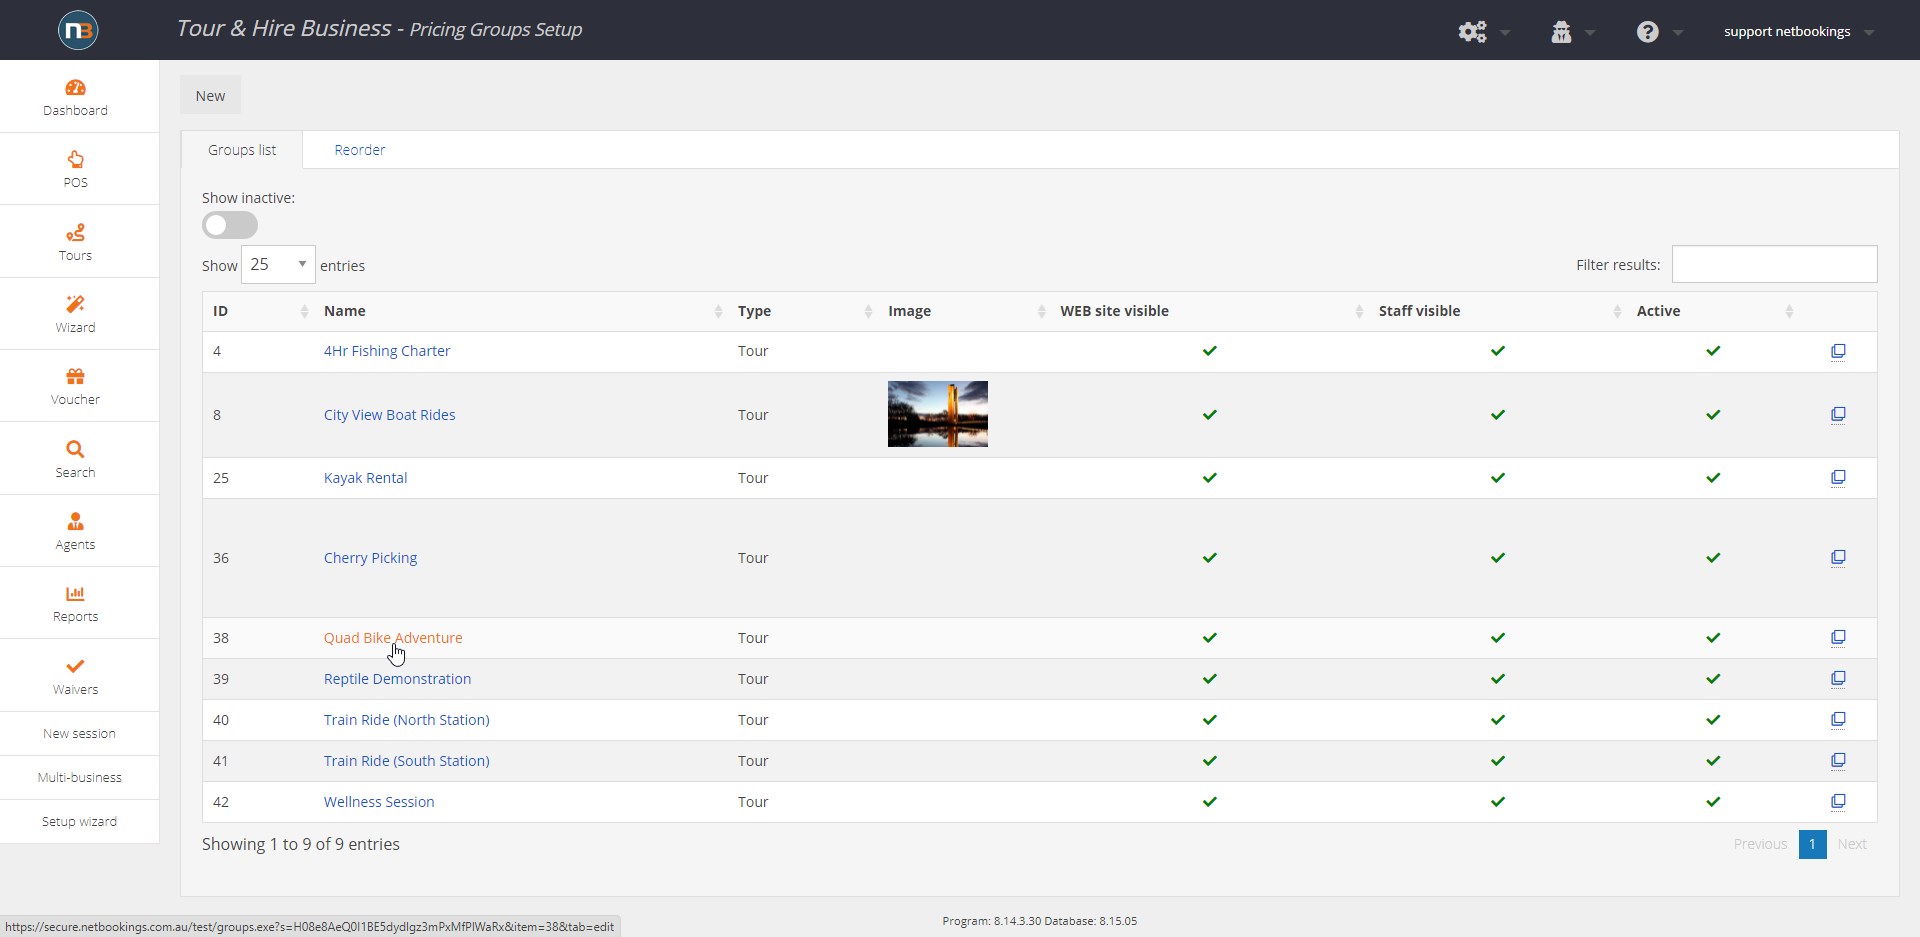
Select a Pricing Group
Select a Waiver Template
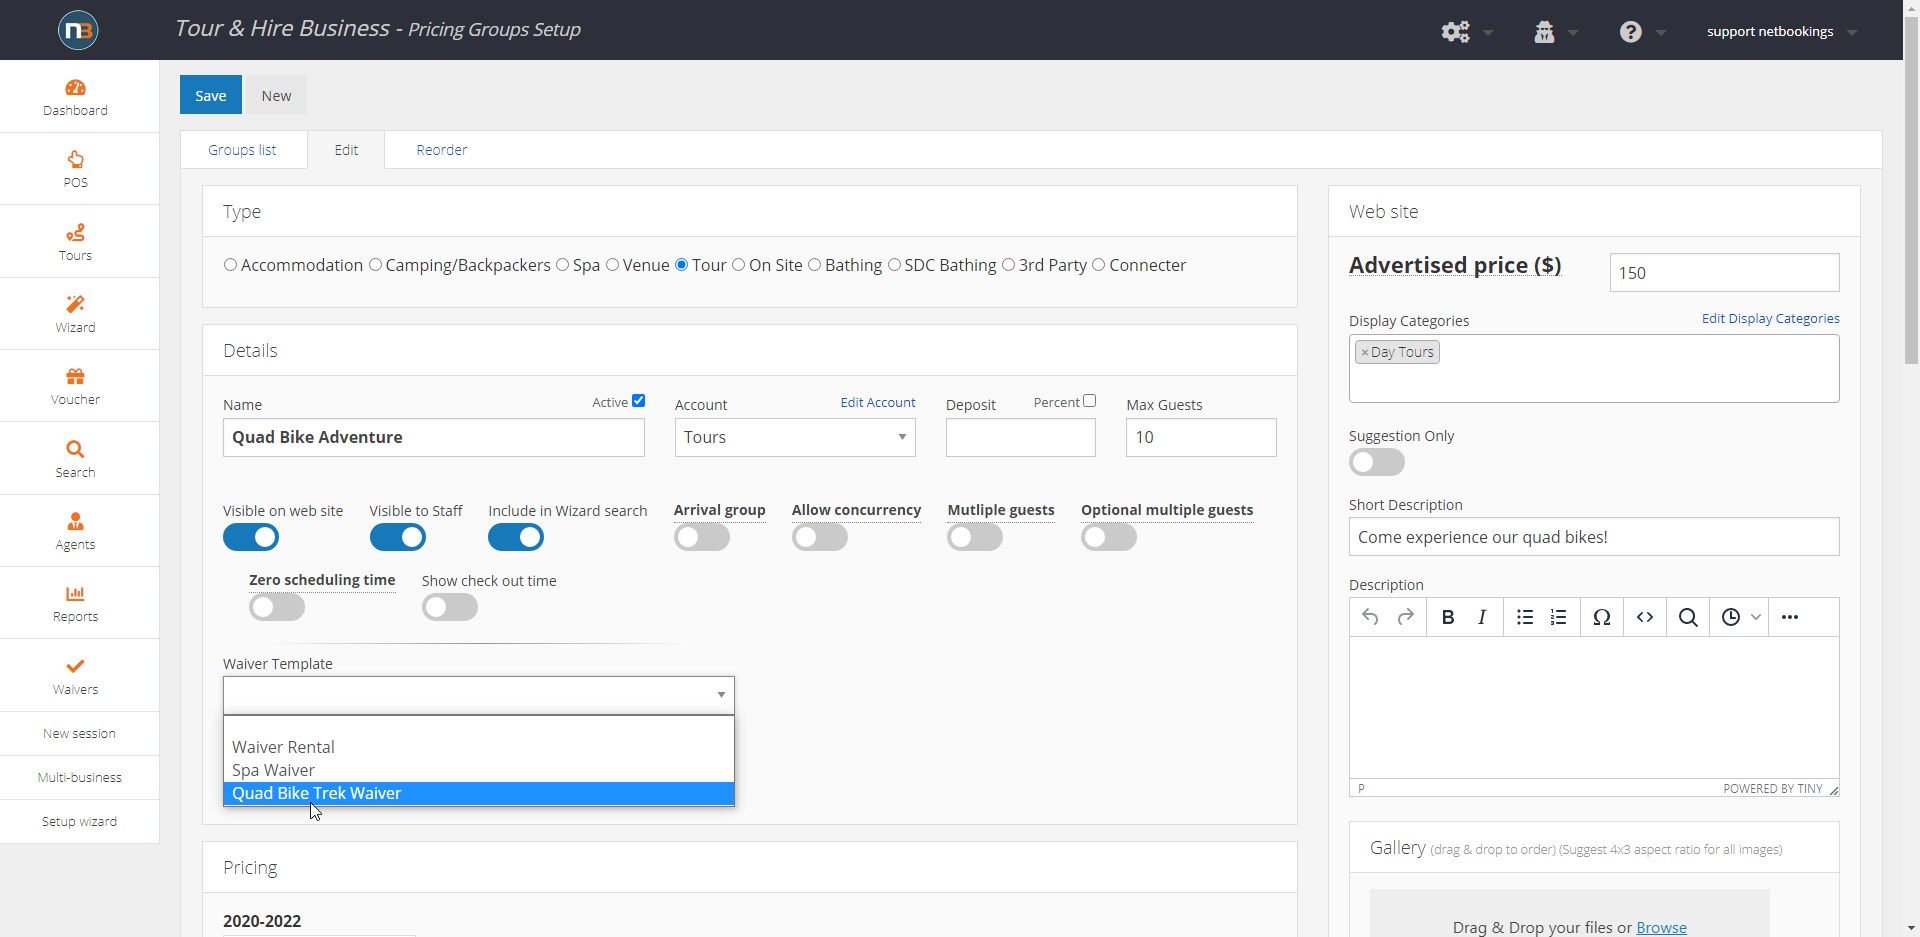
Select your waiver from the ‘Waiver Templates’ drop-down menu, then click ‘Save’.
Example

If you are viewing your bookings for a tour, you can view which guests have completed their waiver. In this example, Liam O’Brien has not yet signed his waiver, so his ‘Sign Waiver’ button is in red. If the waiver was submitted, but one of the Yes/No questions had a response that needs to be noted, the button would be in orange. If the waiver was submitted and no additional information is noteworthy, the button will appear green.
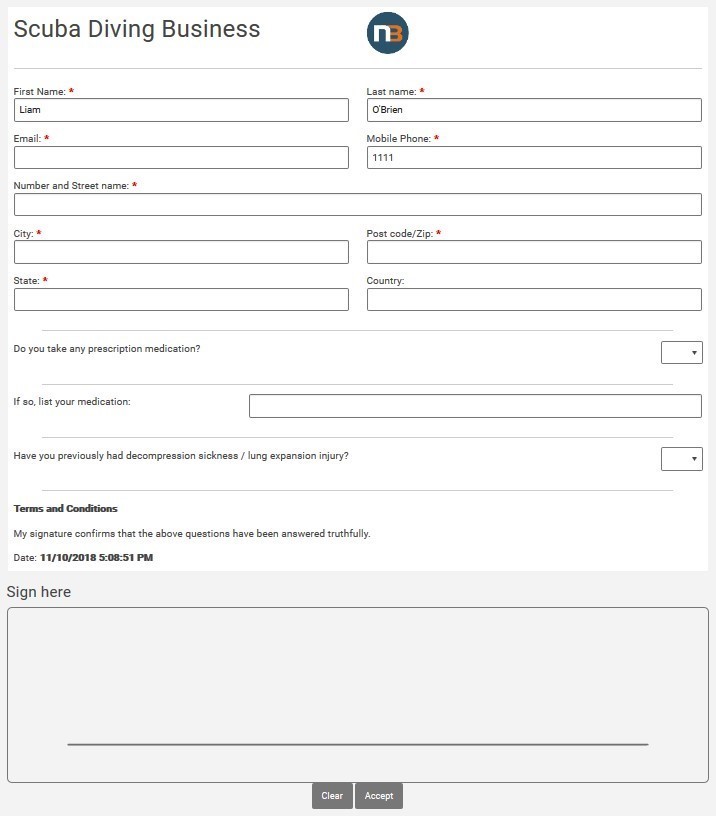
This is how a waiver appears for a guest when they complete it.