
Waiver Templates
Netbookings allows businesses to create waivers templates that can be attached to any pricing group. Waivers are typically used for legal indemnity, but can be used to suit many situations.
These waivers can be easily viewed by staff through the Netbookings back-end, meaning that you can see which guests have filled out their waivers. If desired, guests may also fill out their waivers during the online booking process. Before creating a new waiver template ensure that you have enabled waivers for your plan. See ‘Enabling Waivers’.
Setup Waiver
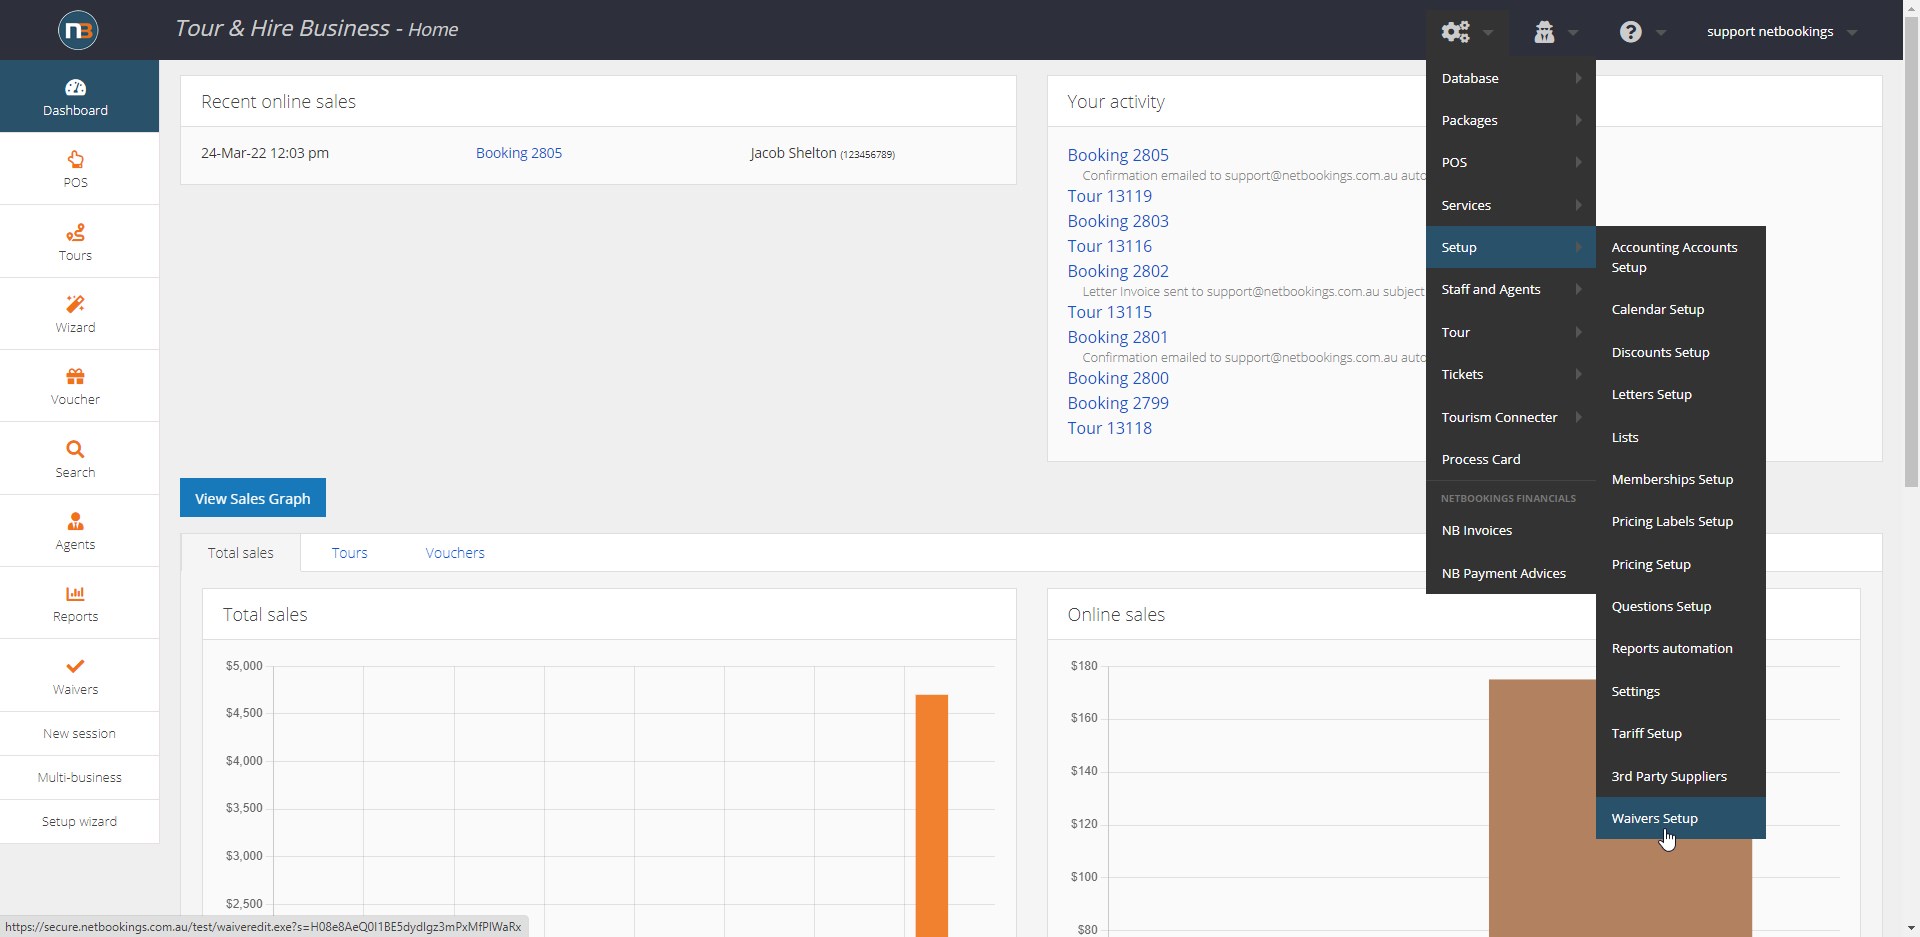
Navigate to System > Setup > Waivers Setup.
Create New
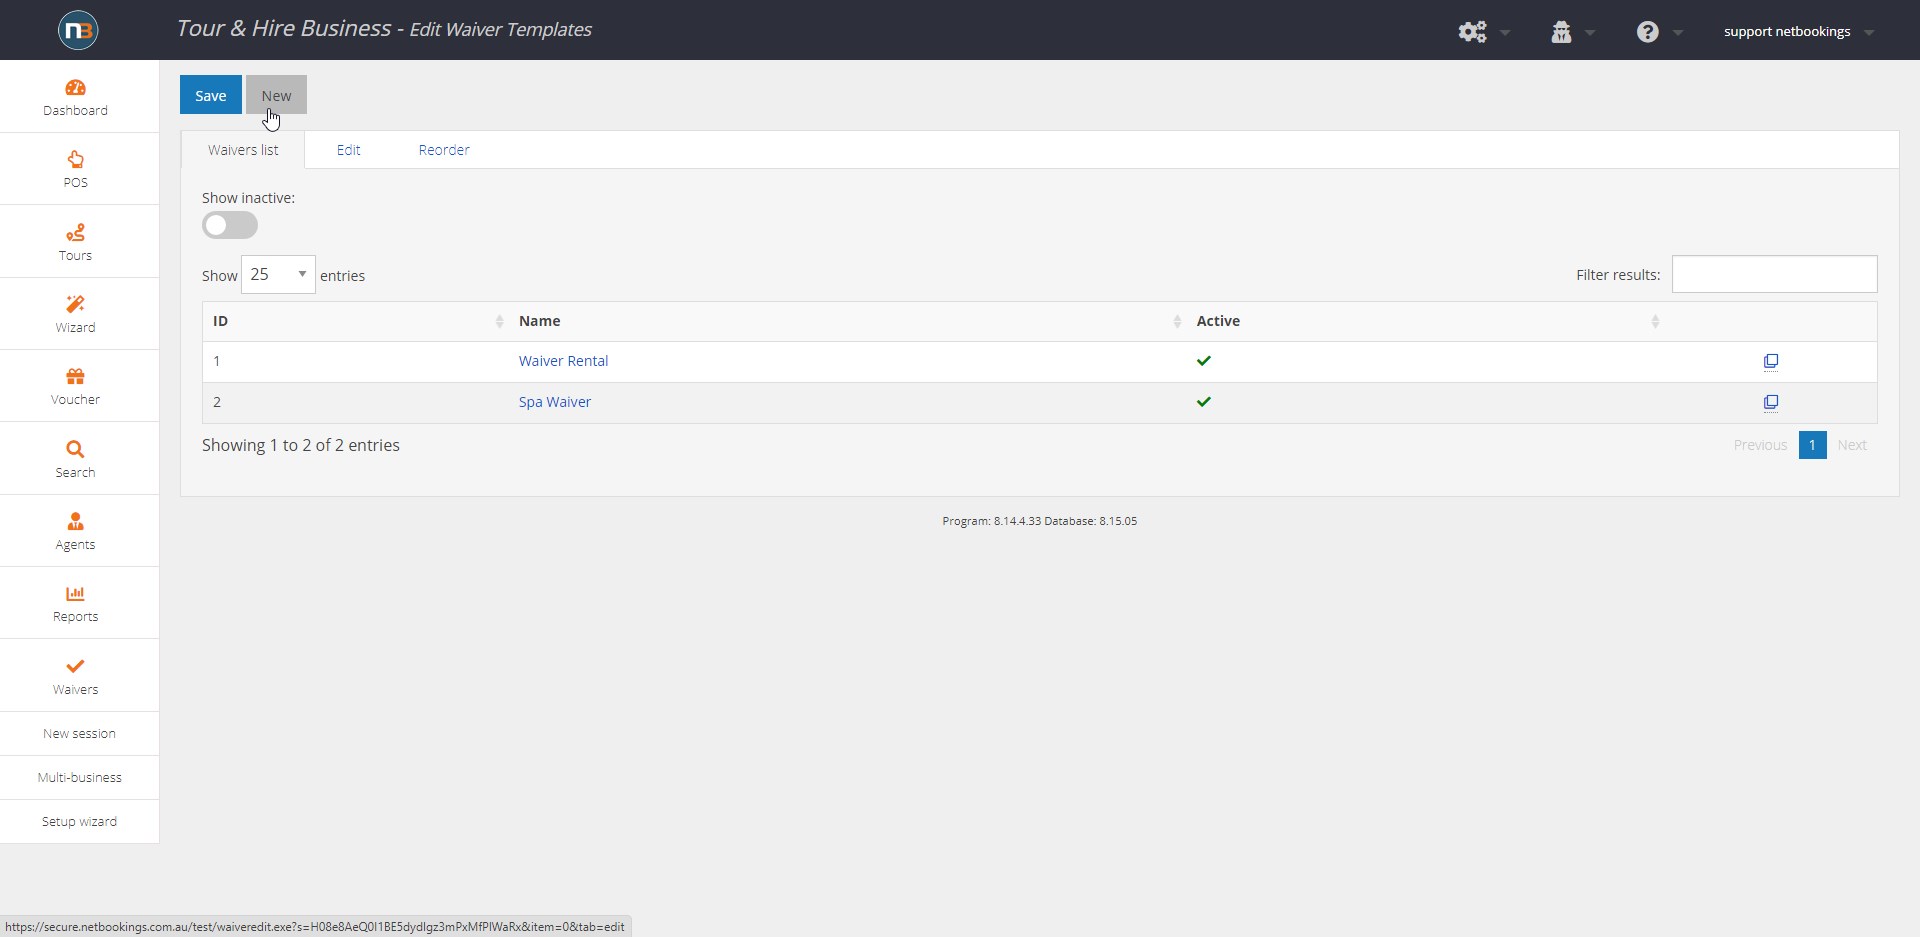
In the top left corner of the page, click ‘New’.
Label Waiver
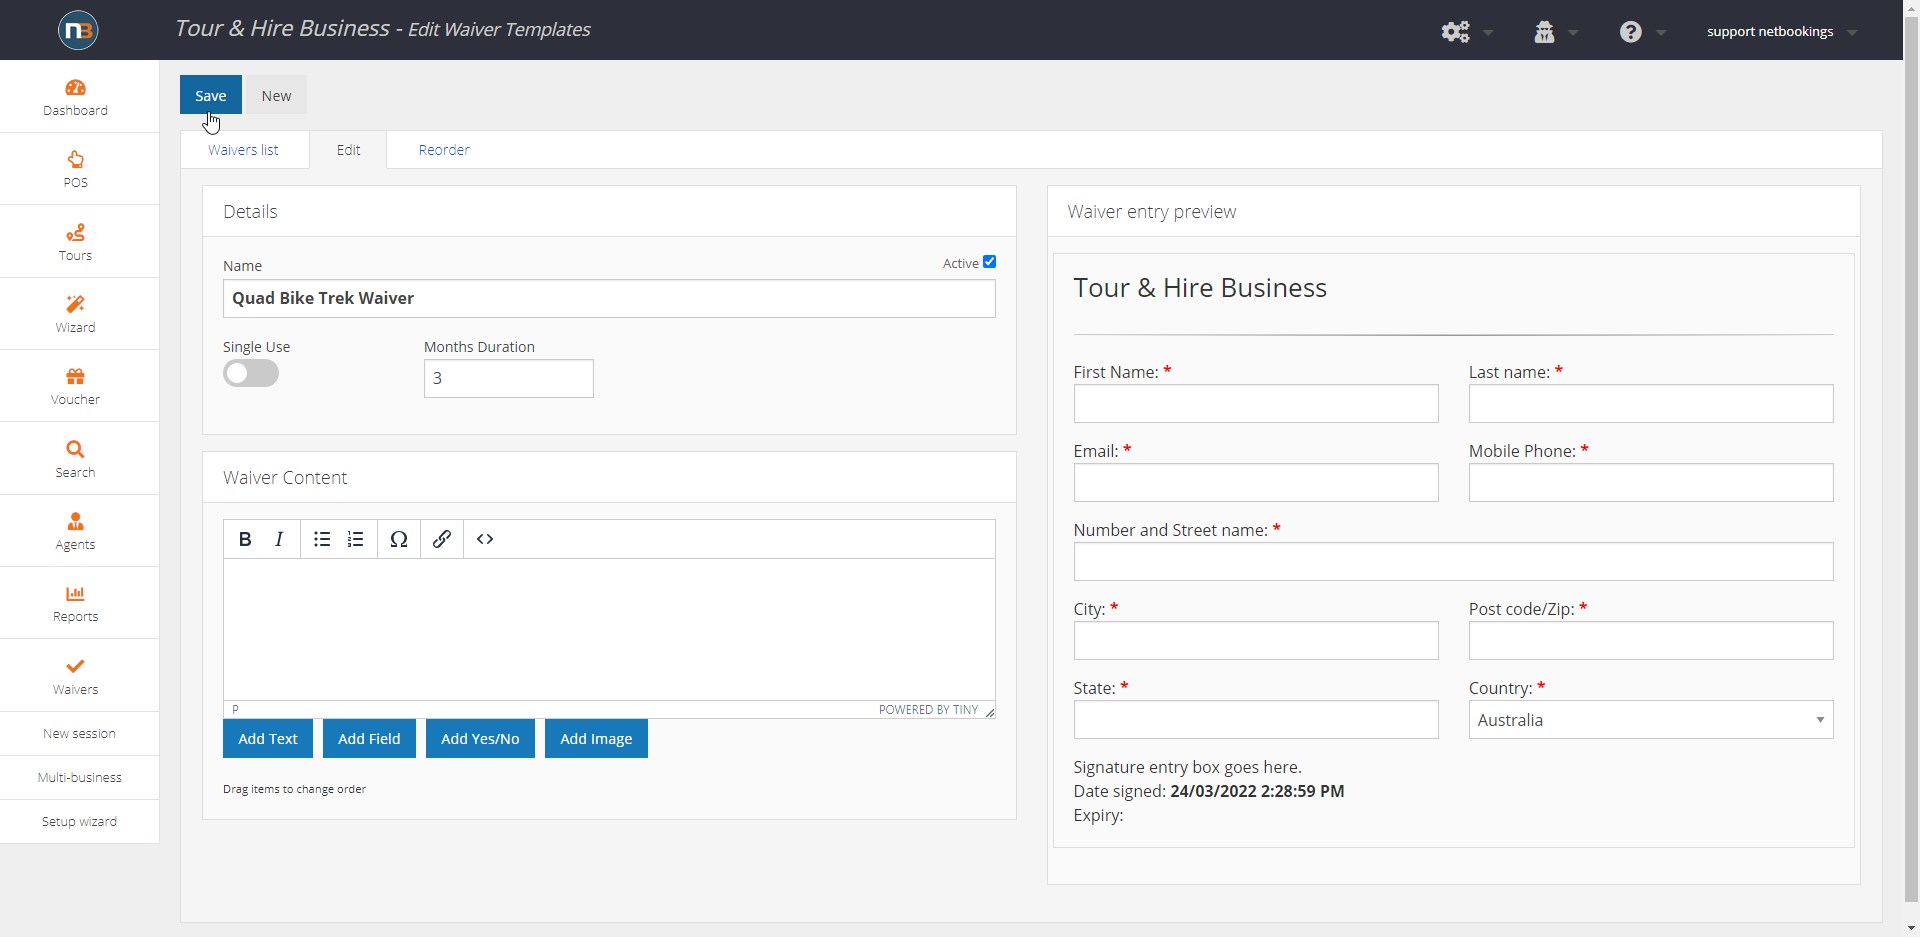
Enter a name for your waiver template. Your template must now be saved before any further fields can be added. Click ‘Save’.
Waiver Expiry
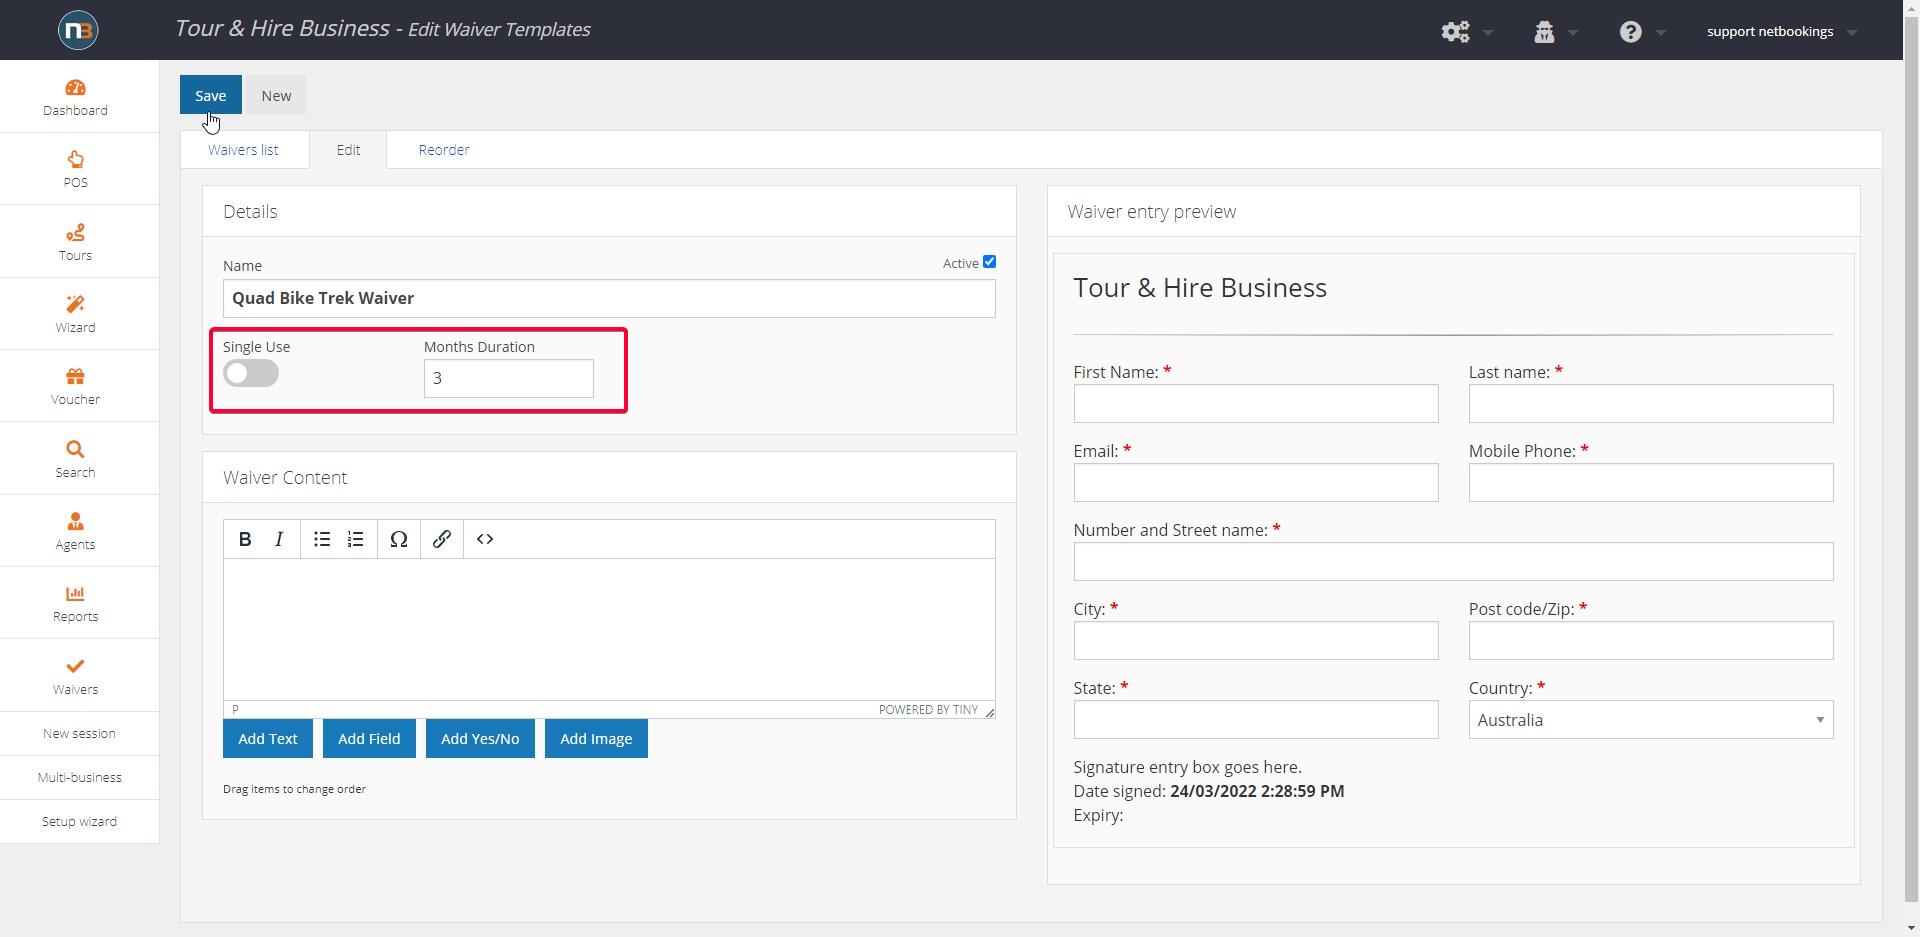
Toggle whether you want waivers to be single use or have an expiry. In the example above guest waivers will last 3 months before needing fill out a new one. Of course, single use waivers need to be filled out before every booking/activity/tour.
Add Fields to your Template
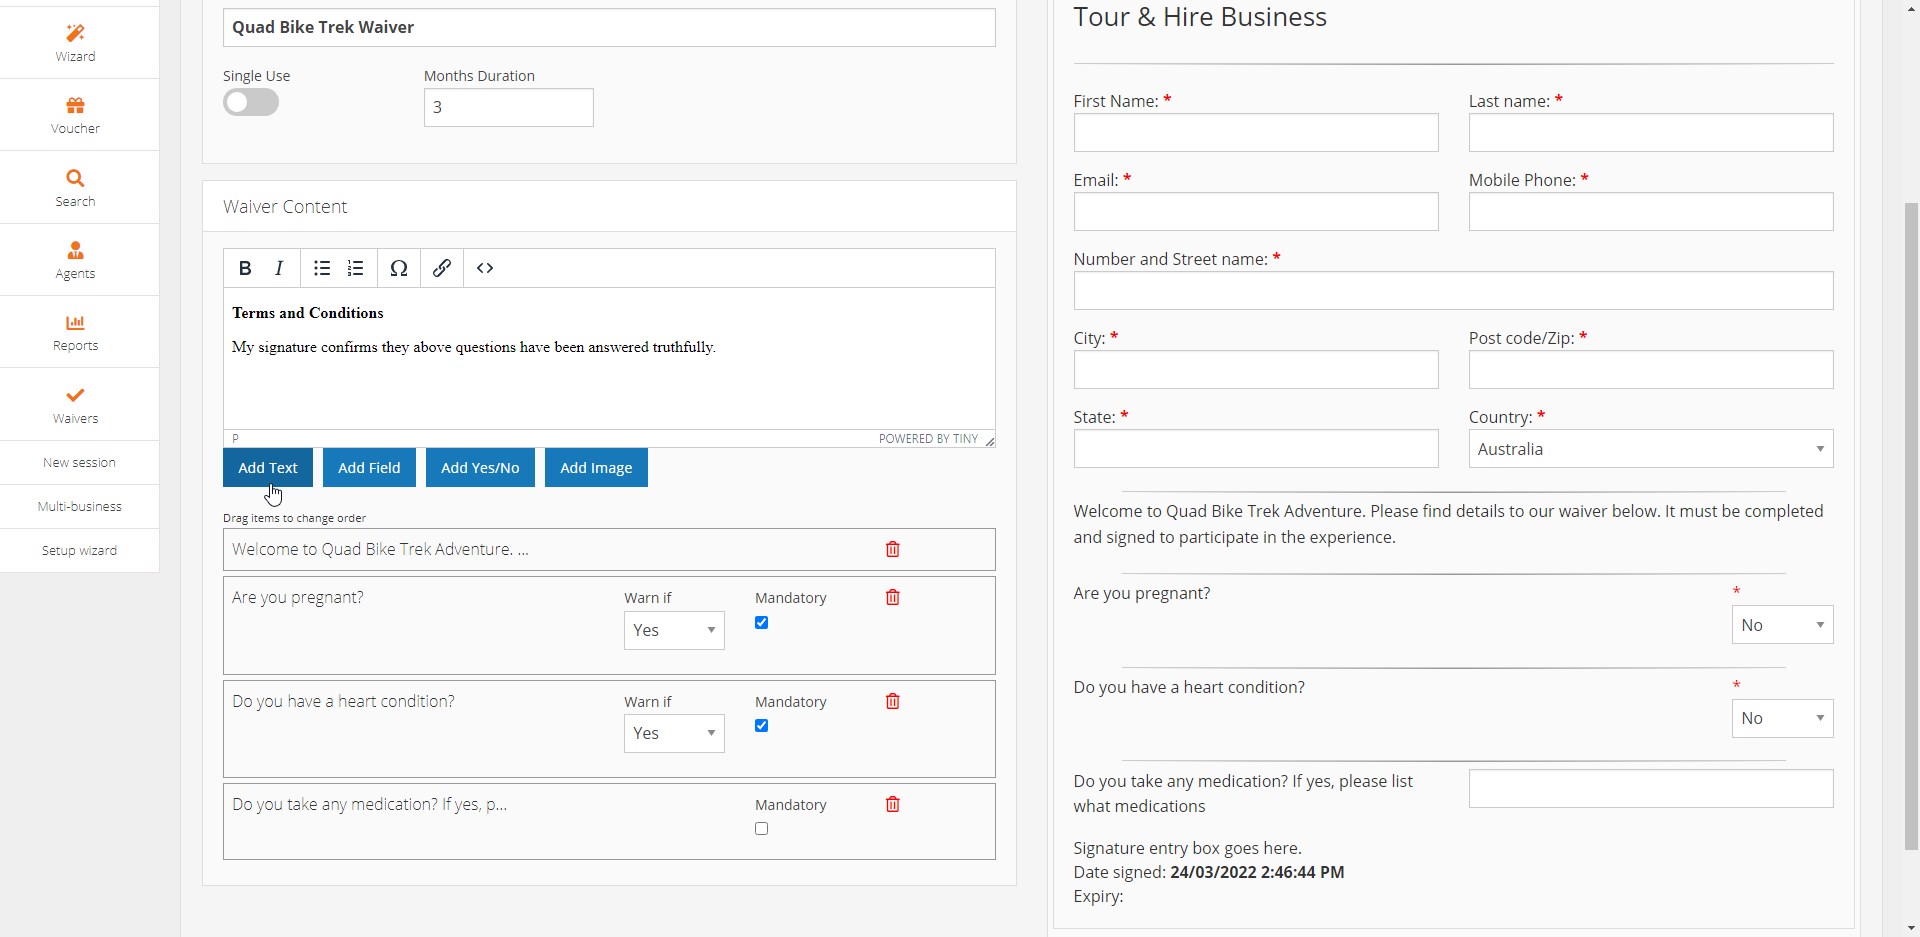
You may now add content to your waiver. Write some text into the text field and click ‘Add Text’, ‘Add Field’ or ‘Add Yes/No’.
- Add Text – Click this button will simply add a block of text to your waiver, without any fields for the guest to fill in. It may be used for ‘Terms and Conditions’ etc.
- Add Field – This will add your entered text followed by a fields that the guest may fill in. This option is used to get a response from a guest that is not a yes/no.
- Add Yes/No – This will add a yes or no option after your text. This option also allows you to be warned if any guests enter an undesired response, as shown on the following image.
Click ‘Save’ once you have made your waiver template.
Example Template
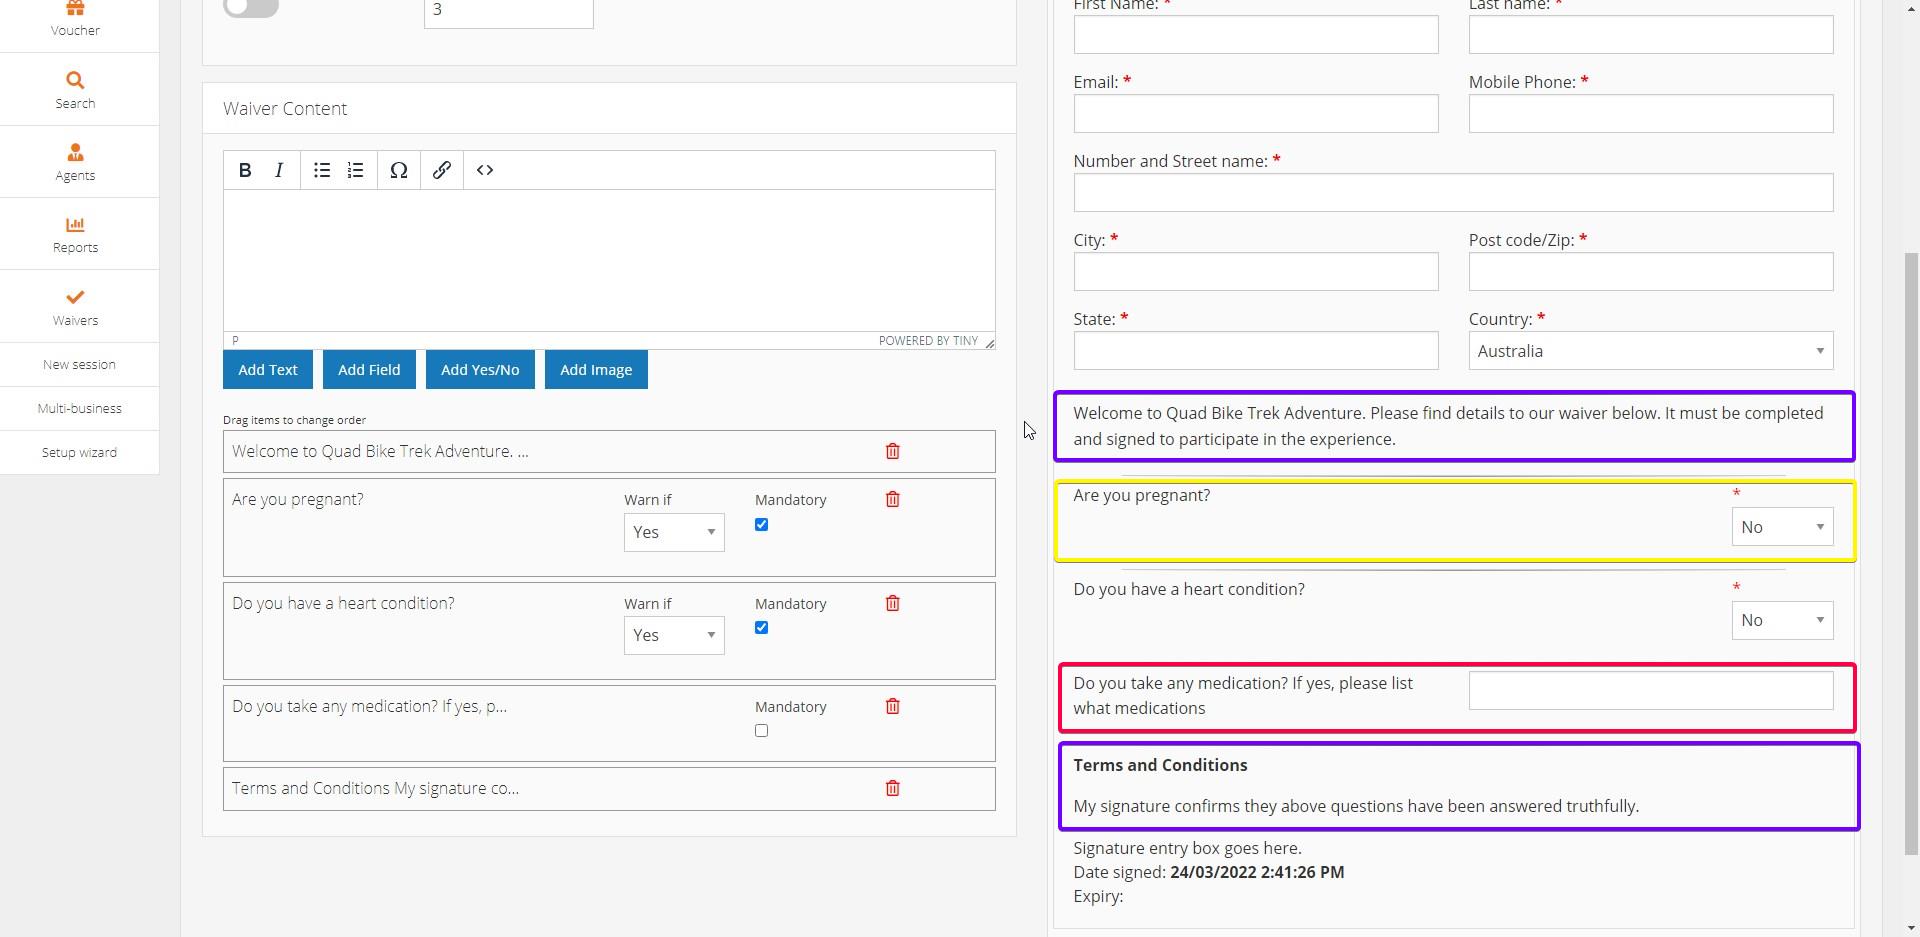
-
- Yellow – ‘Add Yes/No’ option.
- Red – ‘Add Field’ option.
- Purple – ‘Add Text’ option.
The ‘Warn if’ fields allows you to easily see which guests have satisfactorily filled out their waiver from the Netbookings backend. Choose an option which, when selected, you wish to be notified of from the drop down menu. After the waiver template is complete, this will need to be assigned to a pricing group, which can be done here.
Toggle whether or not the question is ‘Mandatory’ for guest to sign, using the checkbox.
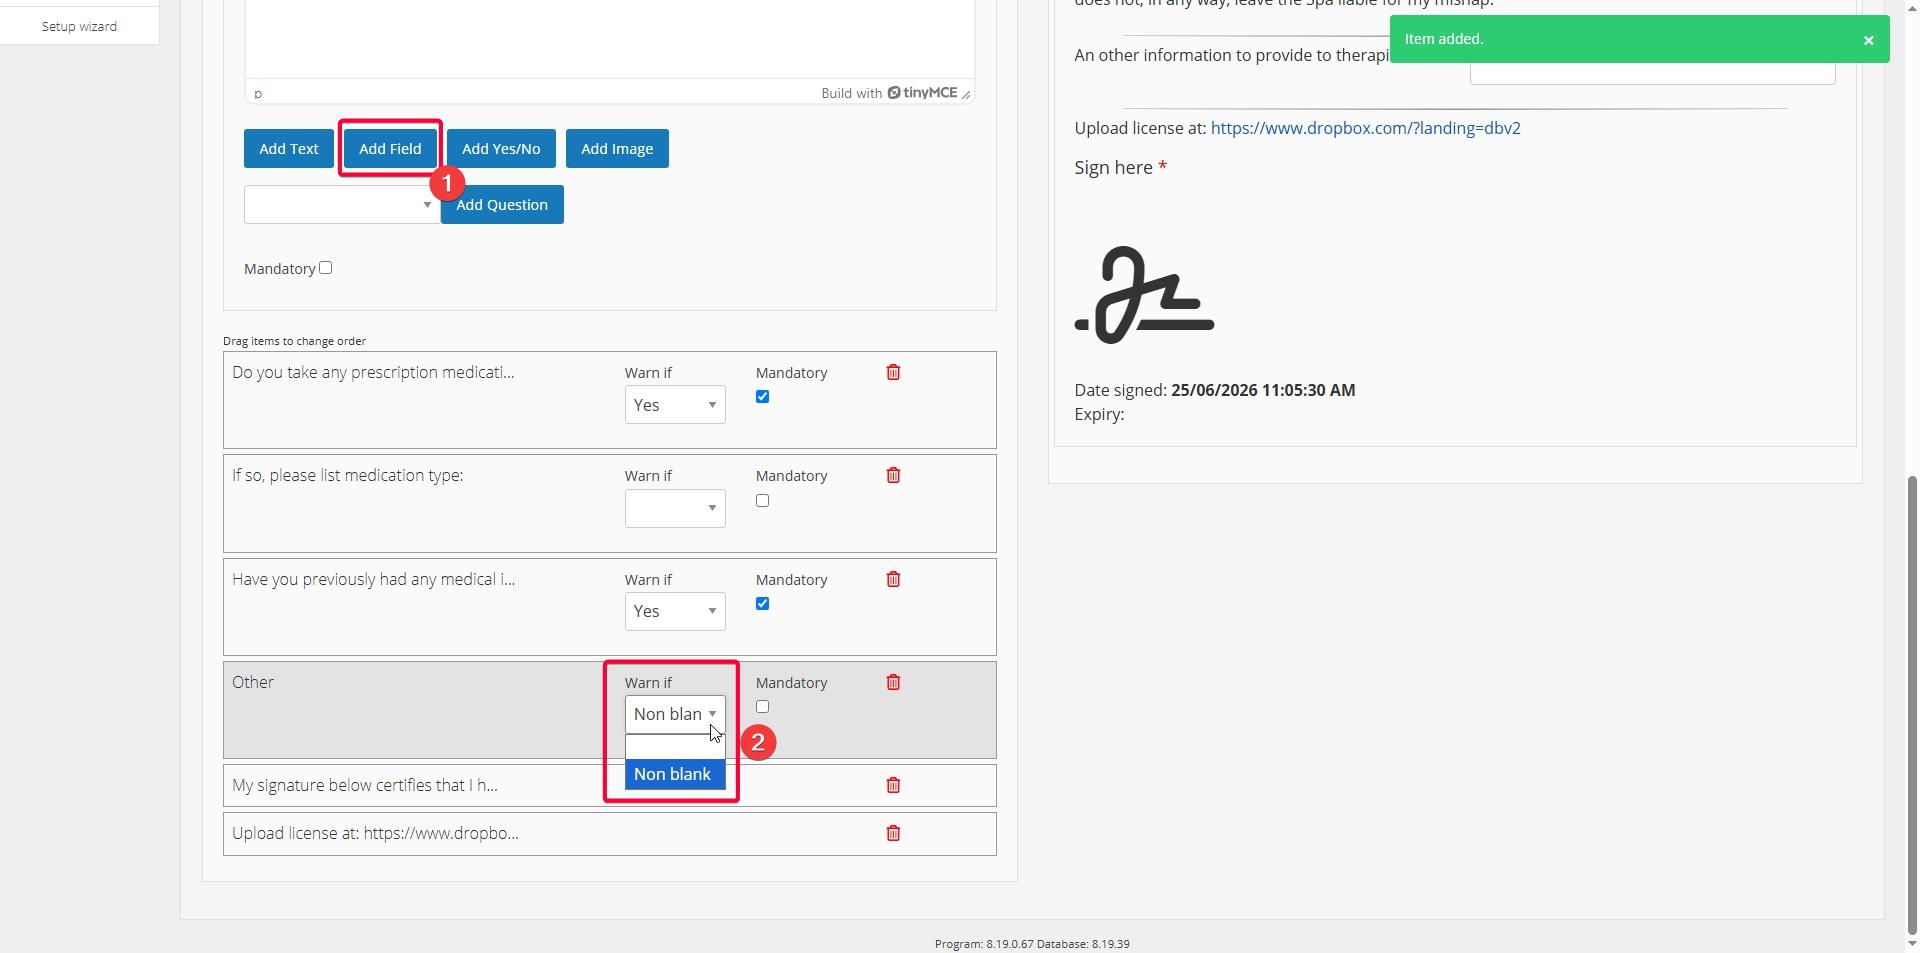
If you have added a question and field for guests to type an entry for, you can also use the ‘Warn if’ function, if the field remains blank (unanswered). Can also be made mandatory like other questions.
Adding Questions
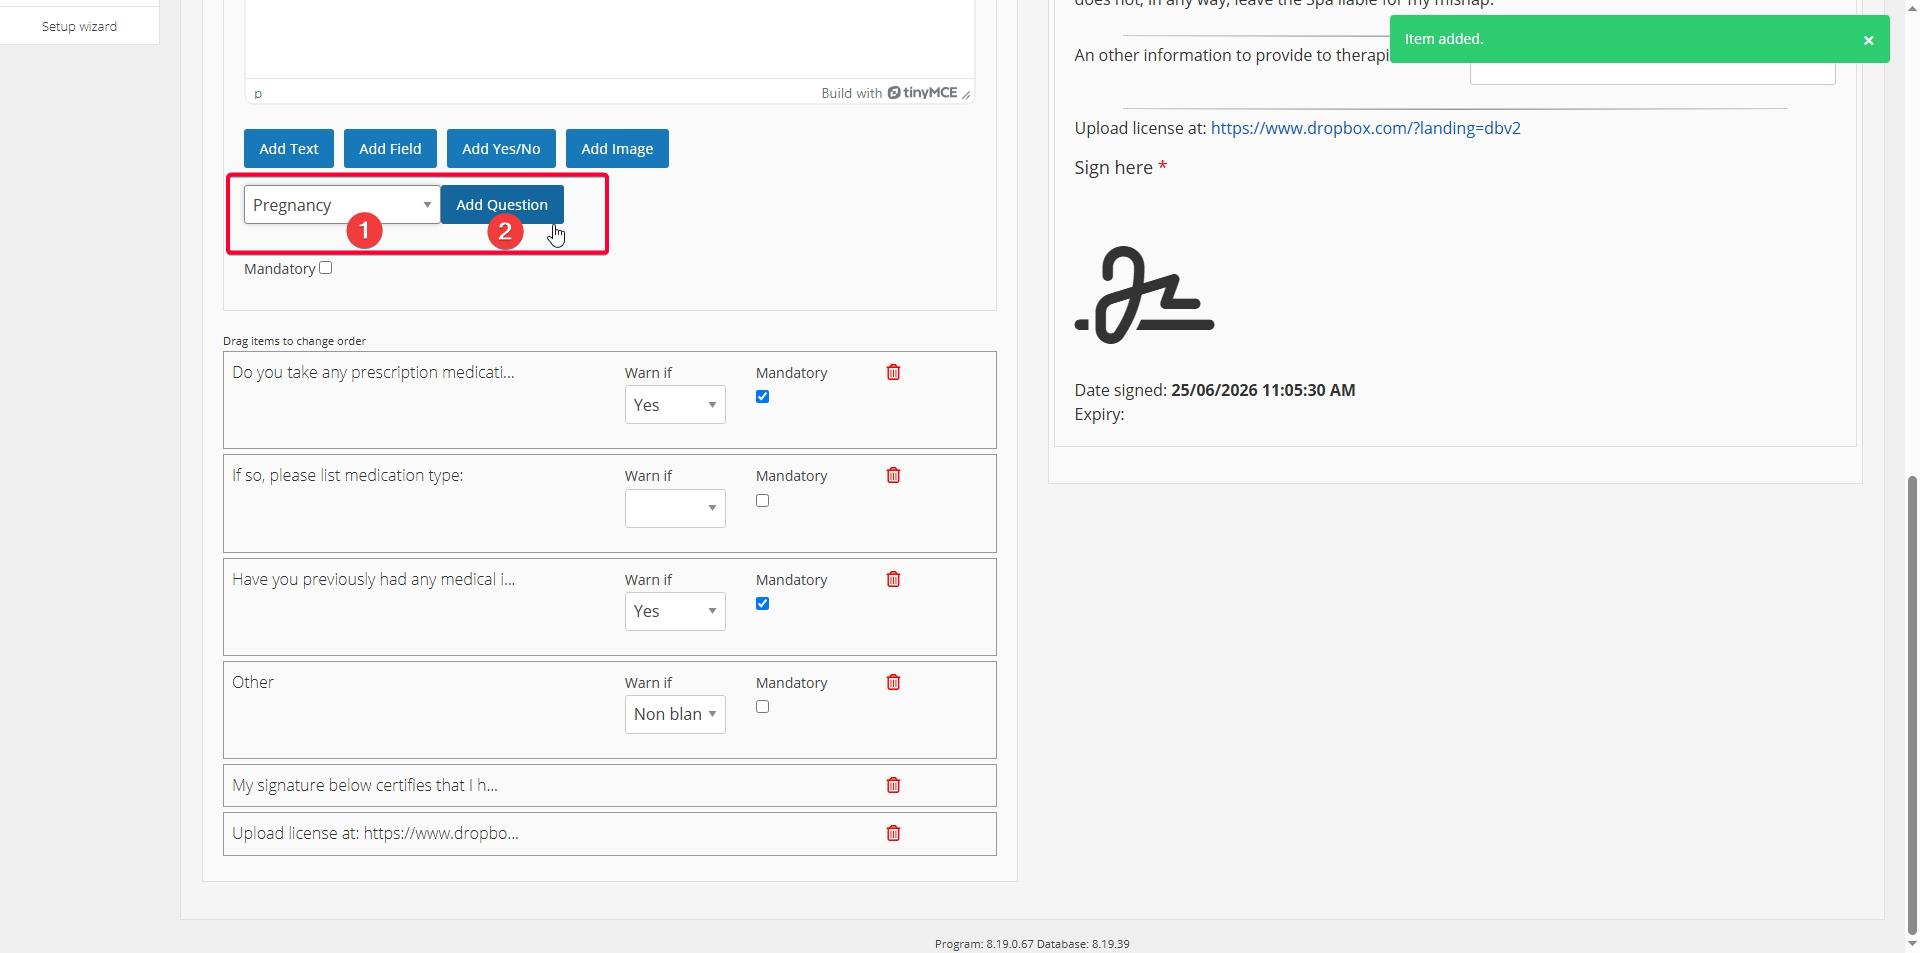
To make adding content easier and faster for template setup, if you have questions already created in System>Setup>Questions Setup, they can be added to the waiver from drop menu as above.
Example Question
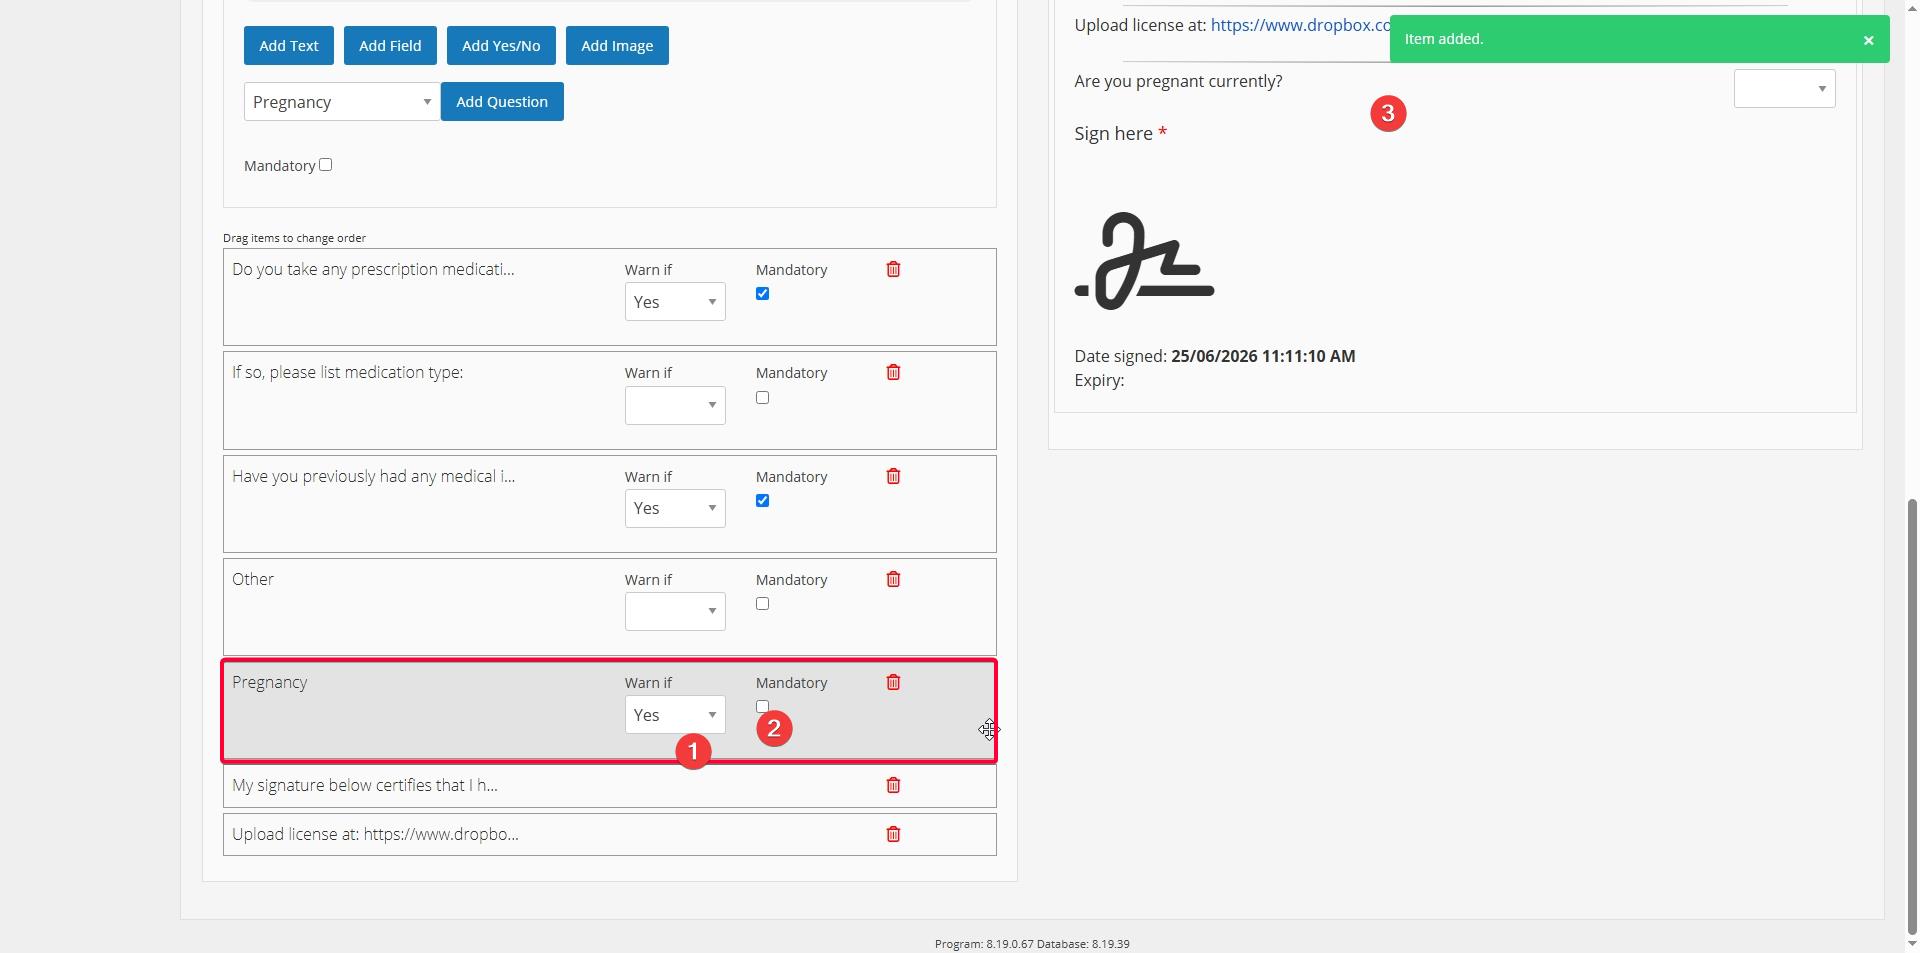
Can have ‘warn if’ and ‘mandatory’ enabled, as with other entries above.